This step-by-step guide will show you how to use the chroma key feature on the YoloBox Pro to green screen yourself onto picture backgrounds and videos, or even add external graphics from a computer.
There are a few different ways to use the green screening feature in the YoloBox. You can use it to add a flat virtual background to your video, or you could use it to put yourself over a moving background or other video sources like an overhead or document camera. You could even key yourself over your computer screen showing your slides from a presentation.

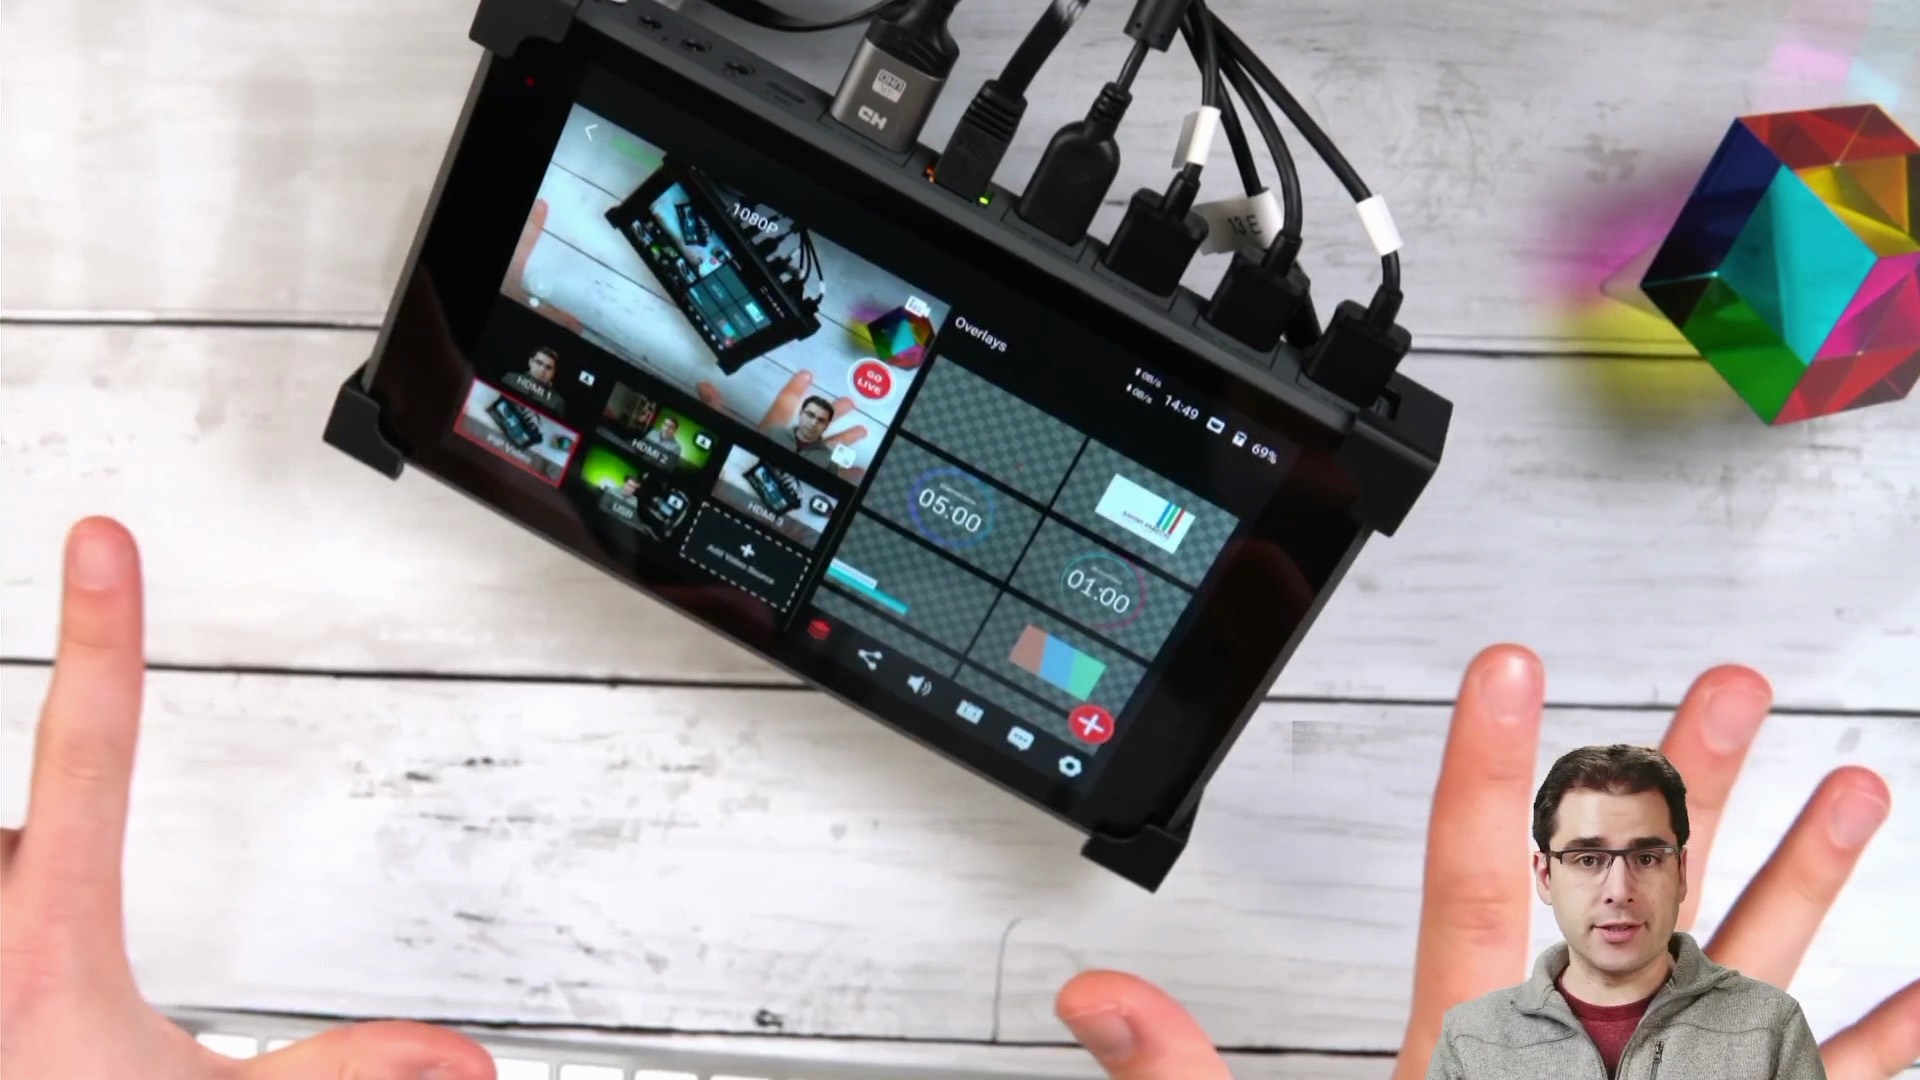
You can also switch things around and instead of removing the background from your main camera, instead you can generate graphics on a computer screen with a green background and add those on top of your video.
Setting up your green screen
Before jumping in to the YoloBox, you'll want to make sure your green screen is set up properly. A quick summary of what you'll need to do is:
- Light your green screen evenly
- Light your subject
- Don't wear anything green
Watch Kevin The Basic Filmmaker's excellent green screen tutorial for a complete guide to these steps!
Green screening on top of an image
We'll first look at how to green screen a camera on top of a static image. You can load images in to the YoloBox by putting them on the SD card. I recommend creating your background image at exactly the right size first, 1920x1080.
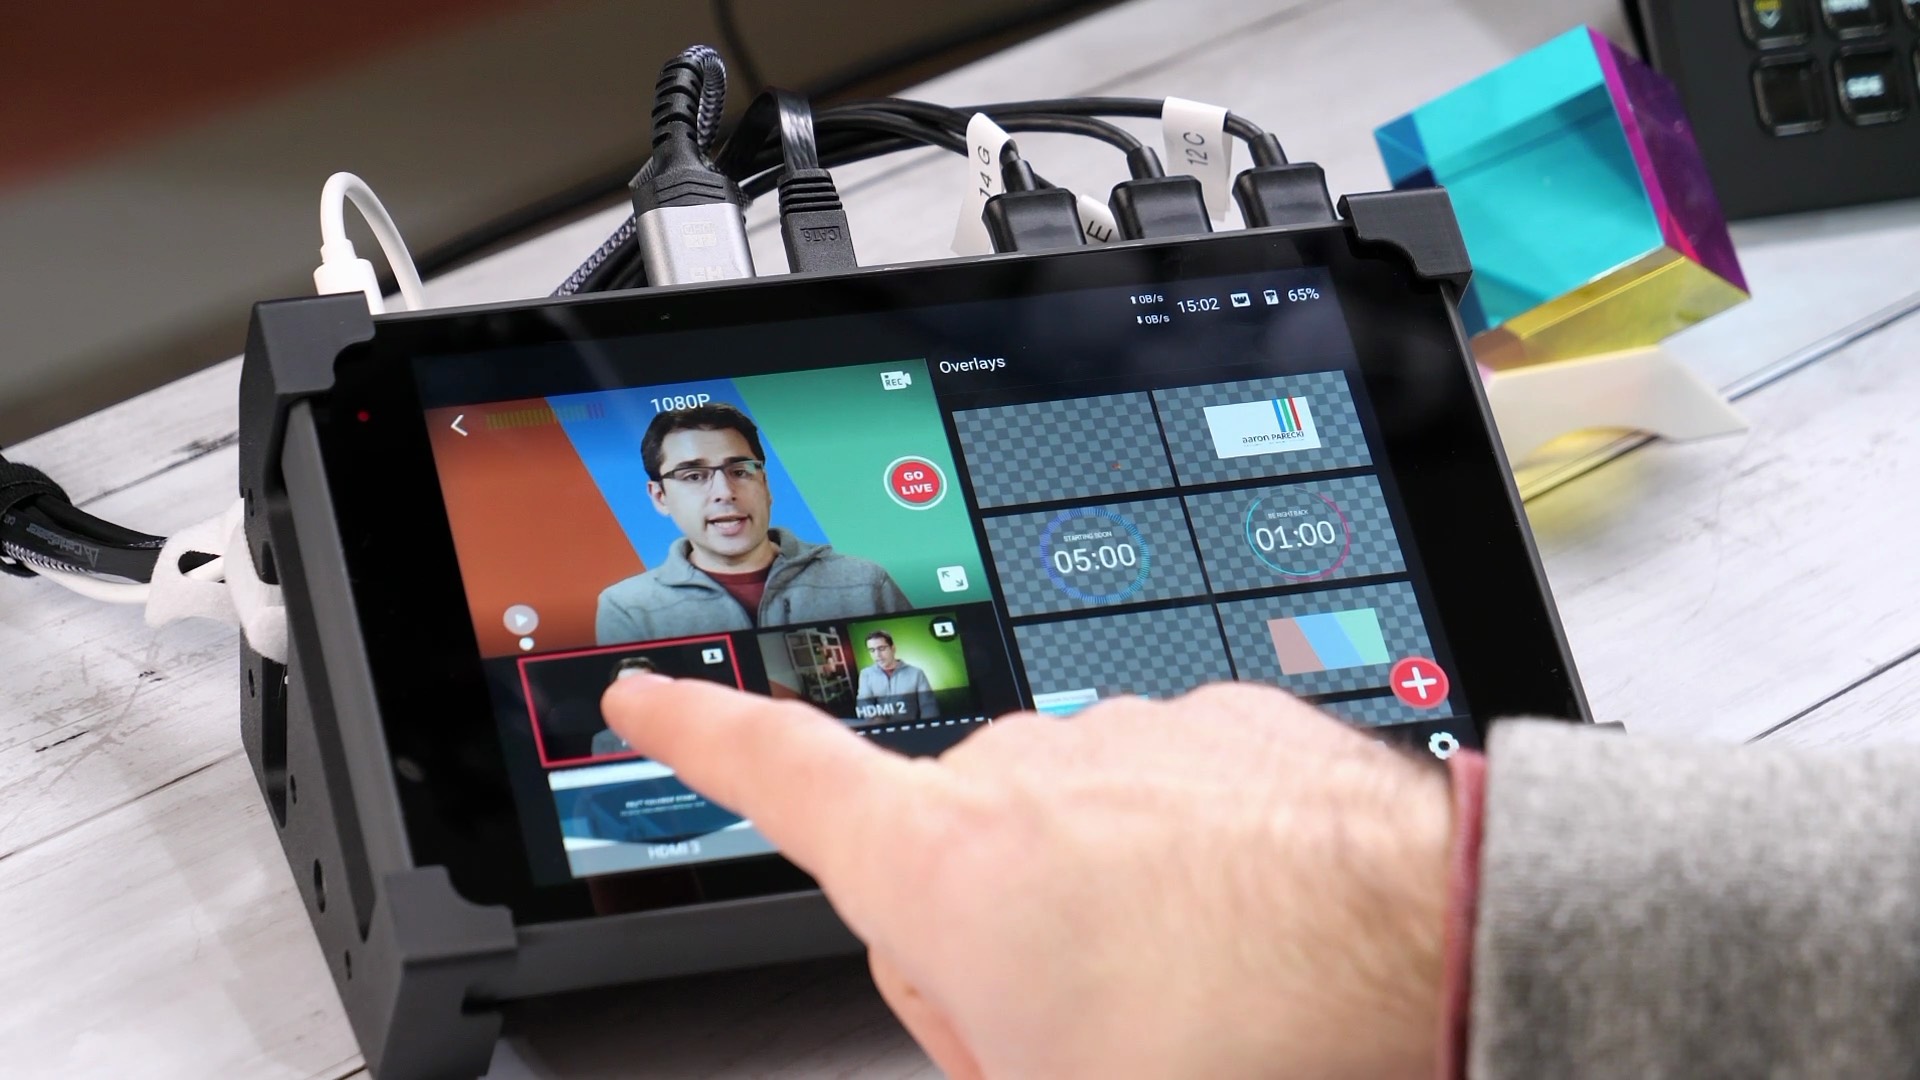
On the YoloBox, click the little person icon in the top right corner of the camera that you want to remove the green background from.

That will open up the Chroma Key Settings interface.
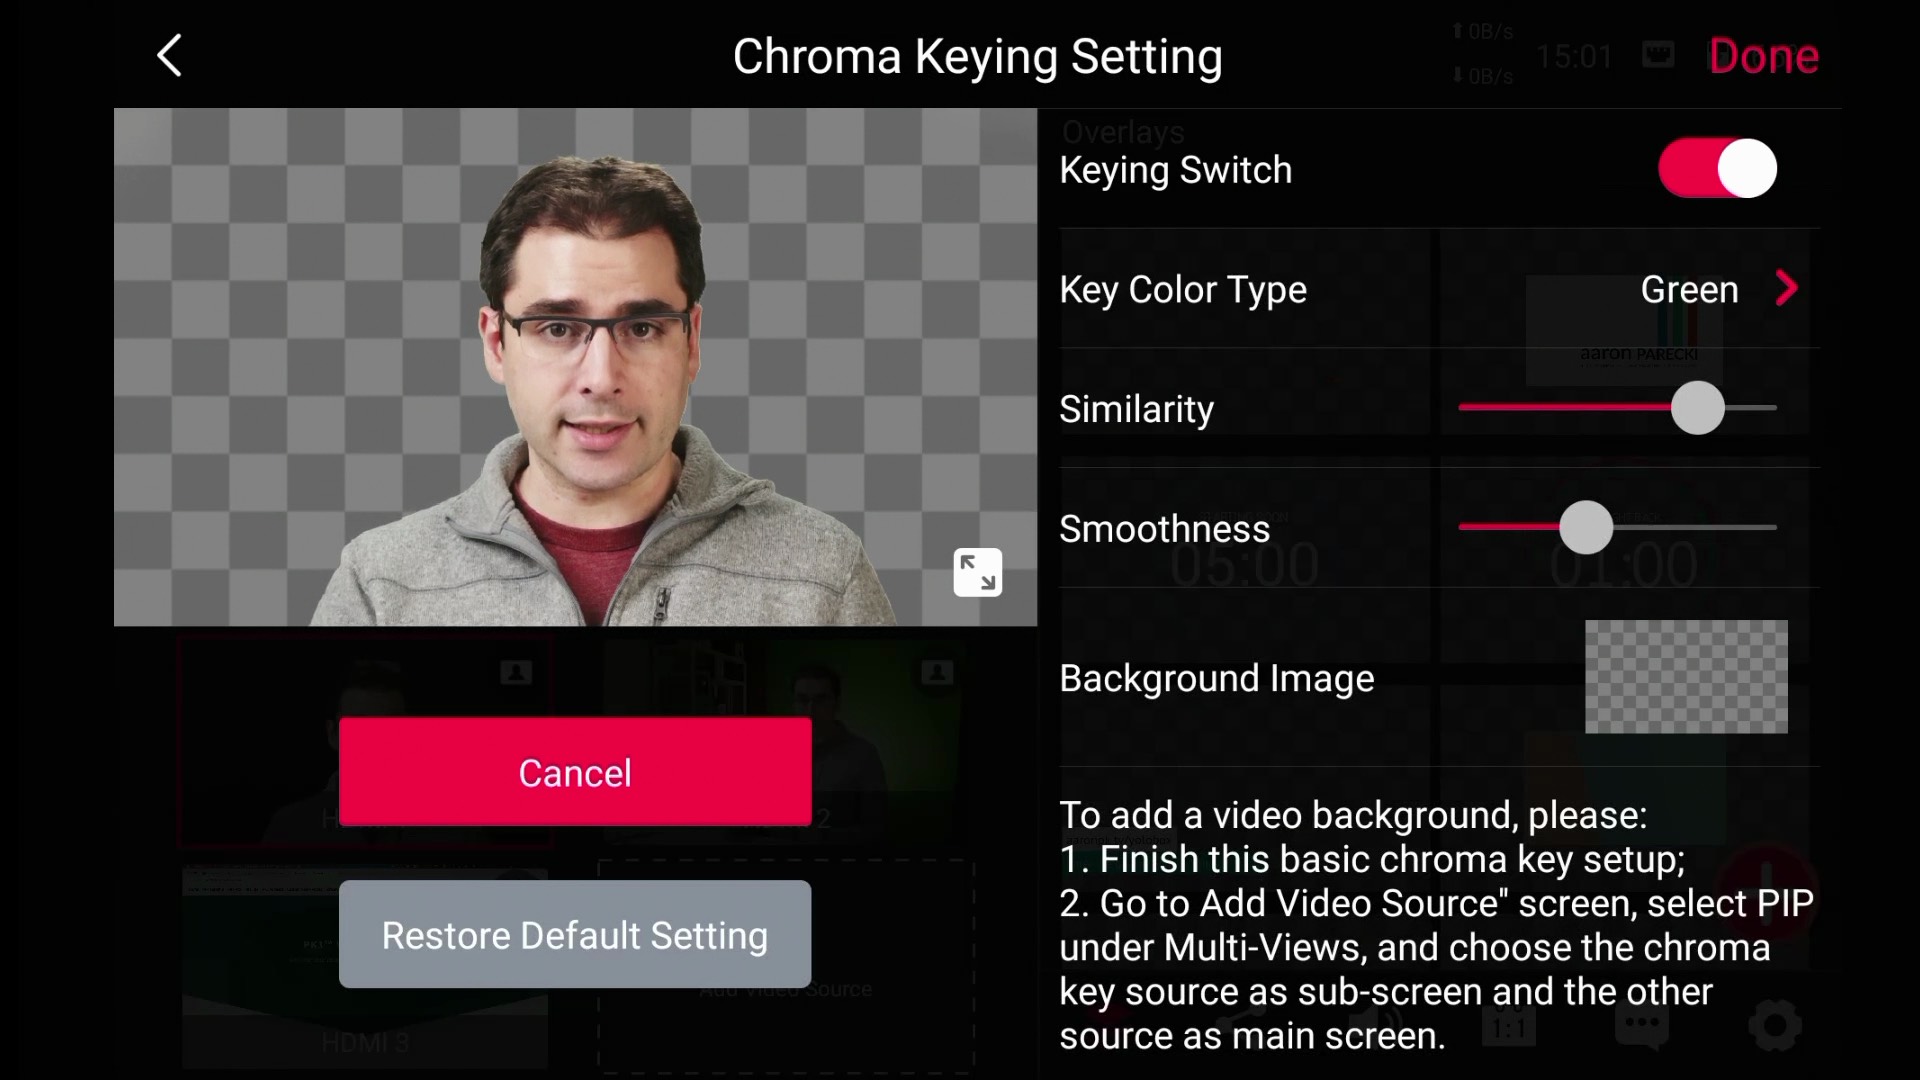
Turn on the "Keying Switch", and you should see a pretty good key if your green screen is lit well. If you have a blue screen instead of green, you can change that setting here. The "Similarity" and "Smoothness" sliders will affect how the YoloBox does the key. Adjust them until things look right and you don't have too much of your background showing and it isn't eating into your main subject.
Tap on the "Background Image" to choose which image from your SD card to use as the background. Only still graphics are supported.
Click "Done" and this will save your settings into that camera's source.
Now when you tap on that camera on the YoloBox, it will always include the background image in place of the green screen.
Green screening on top of other video sources
Green screening yourself on top of other video sources is similar but a slightly different process.
First, set up your HDMI source as described above, but instead of choosing a background image, leave it transparent.
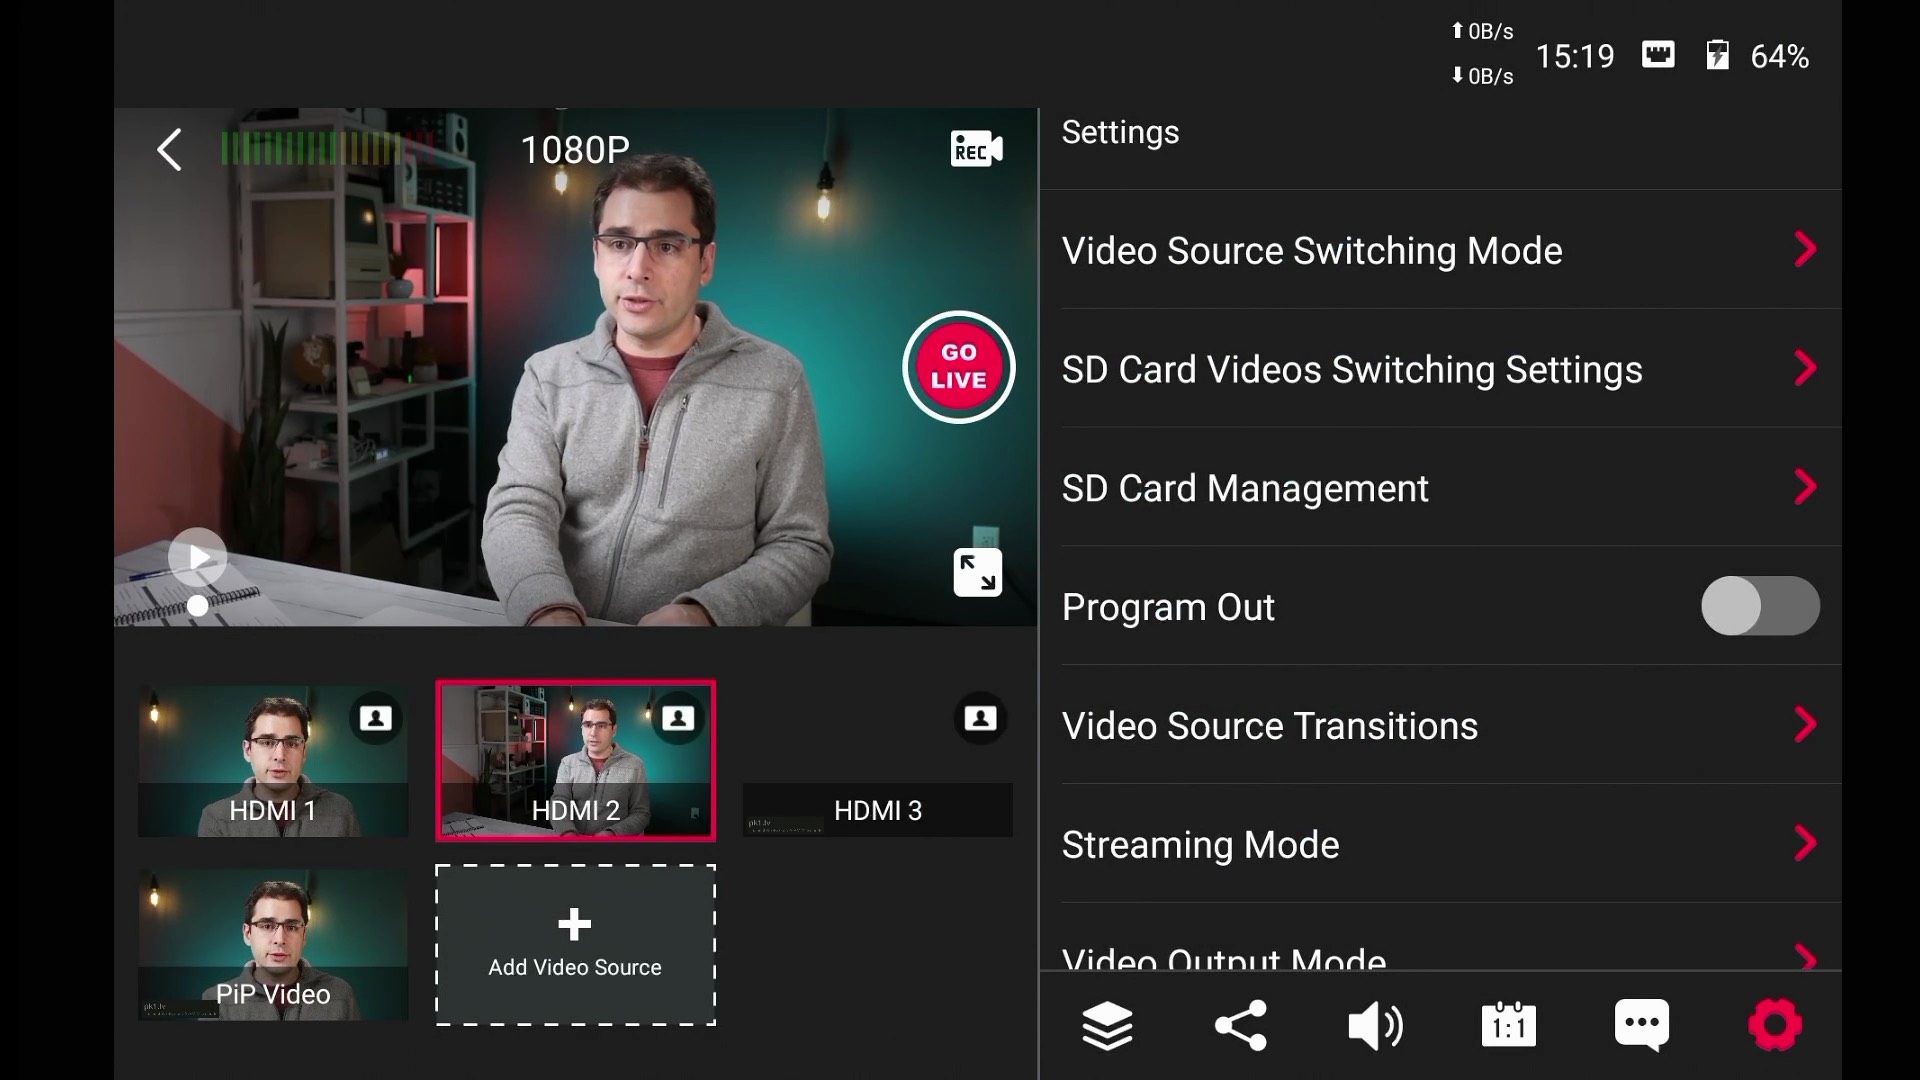
Then click the "Add Video Source" button to create a new picture-in-picture layout.
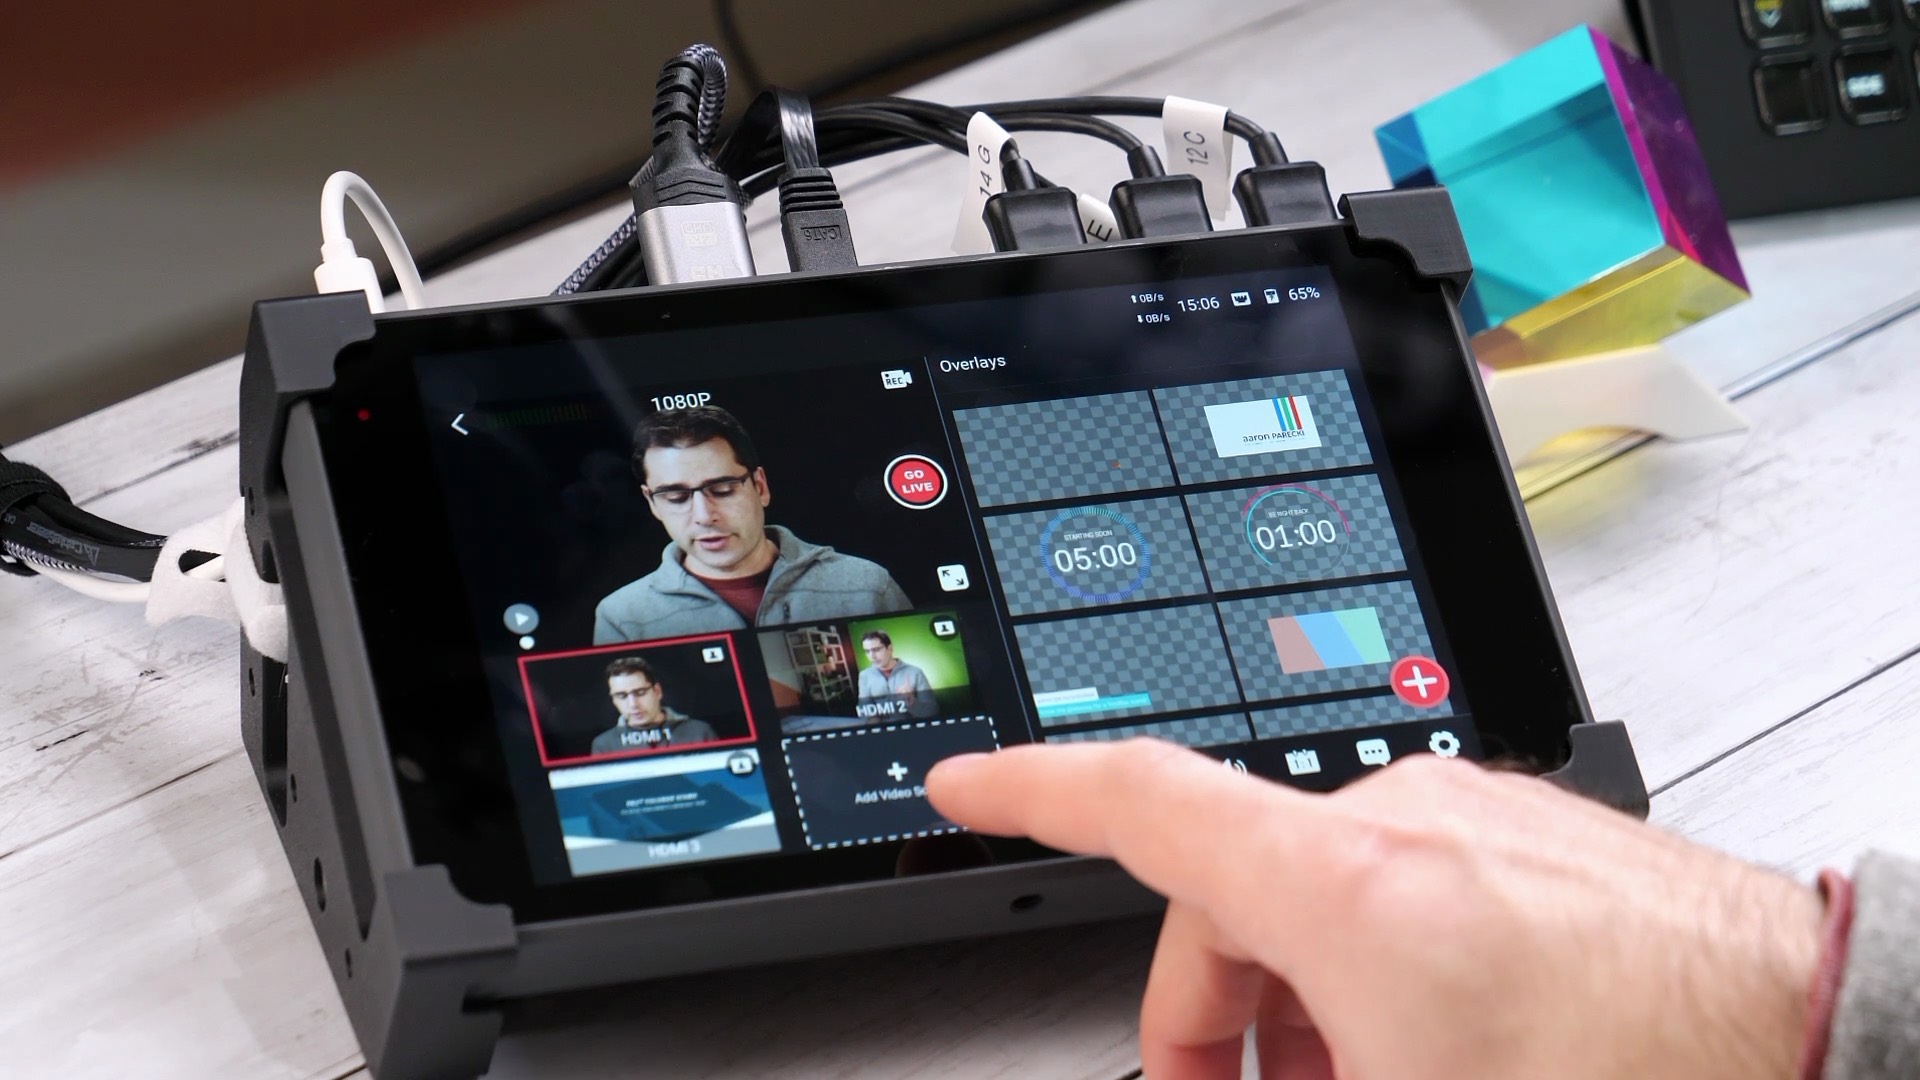
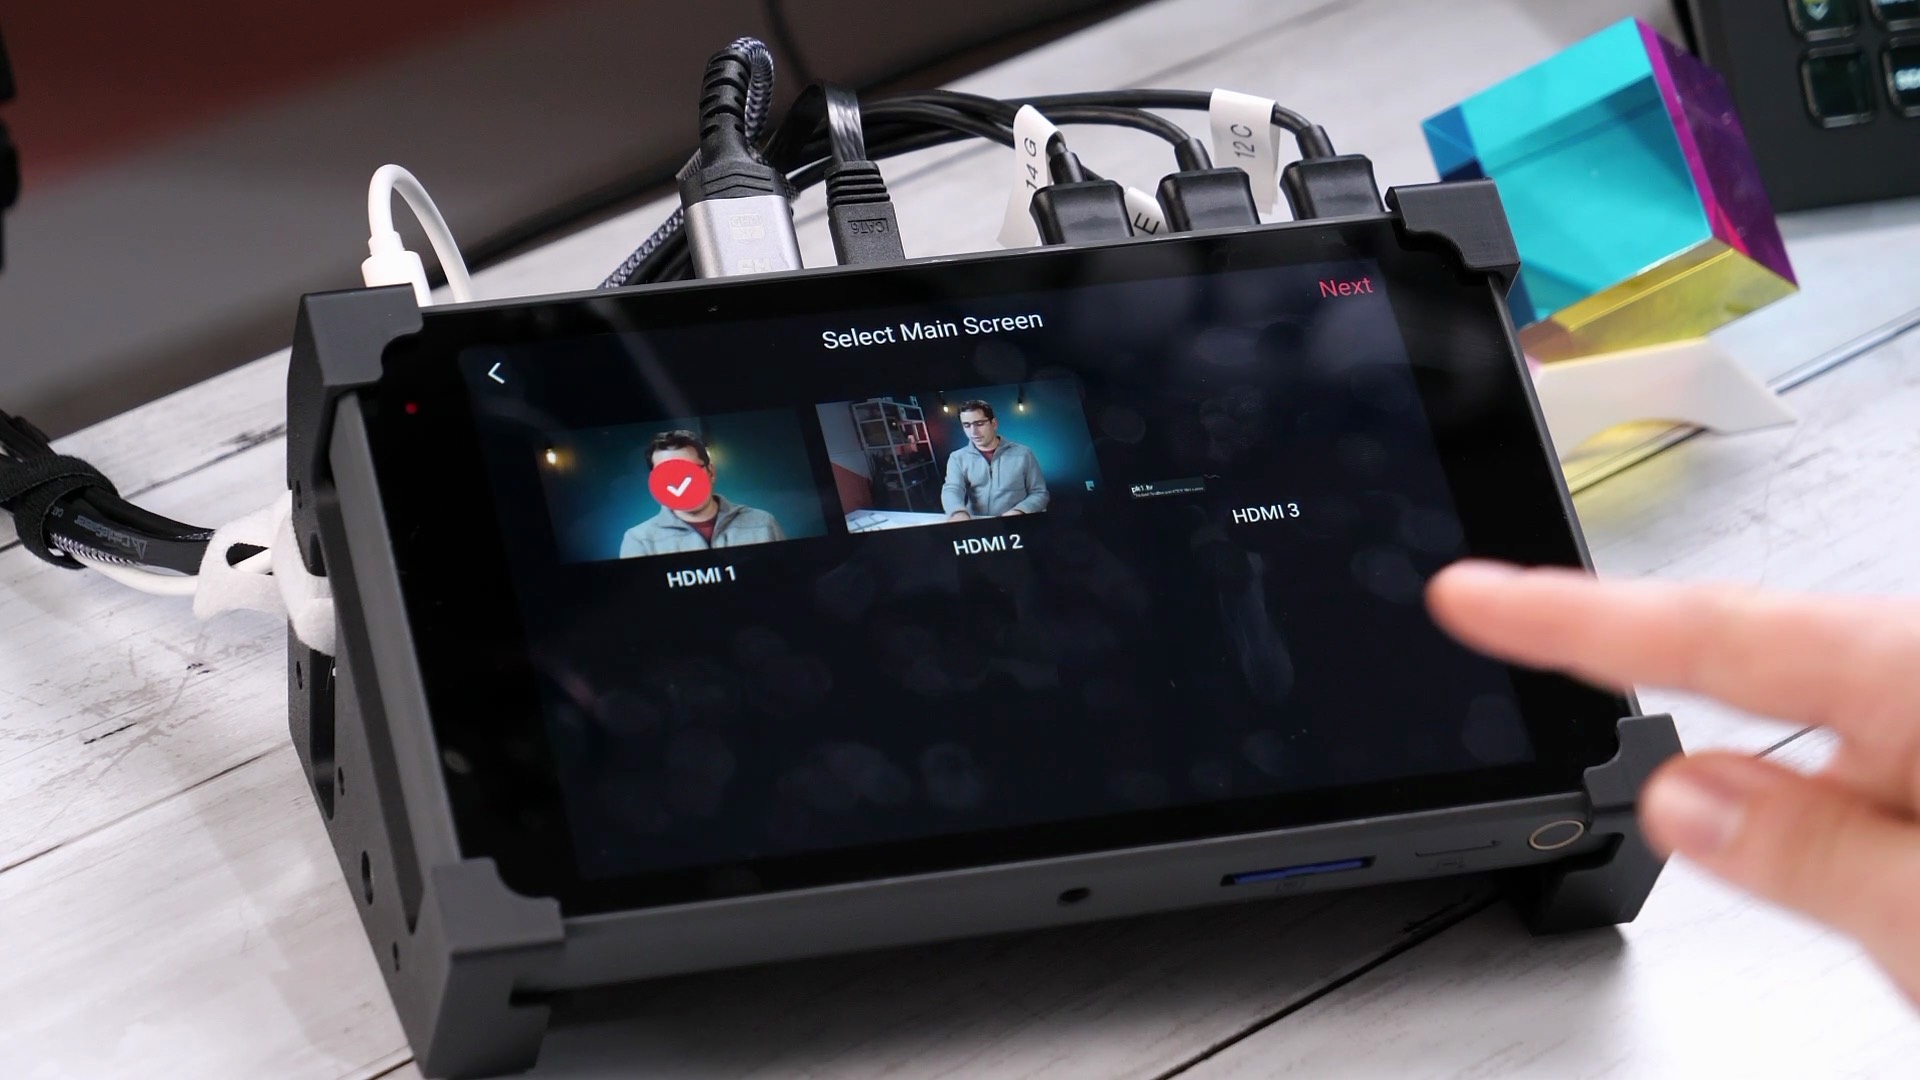
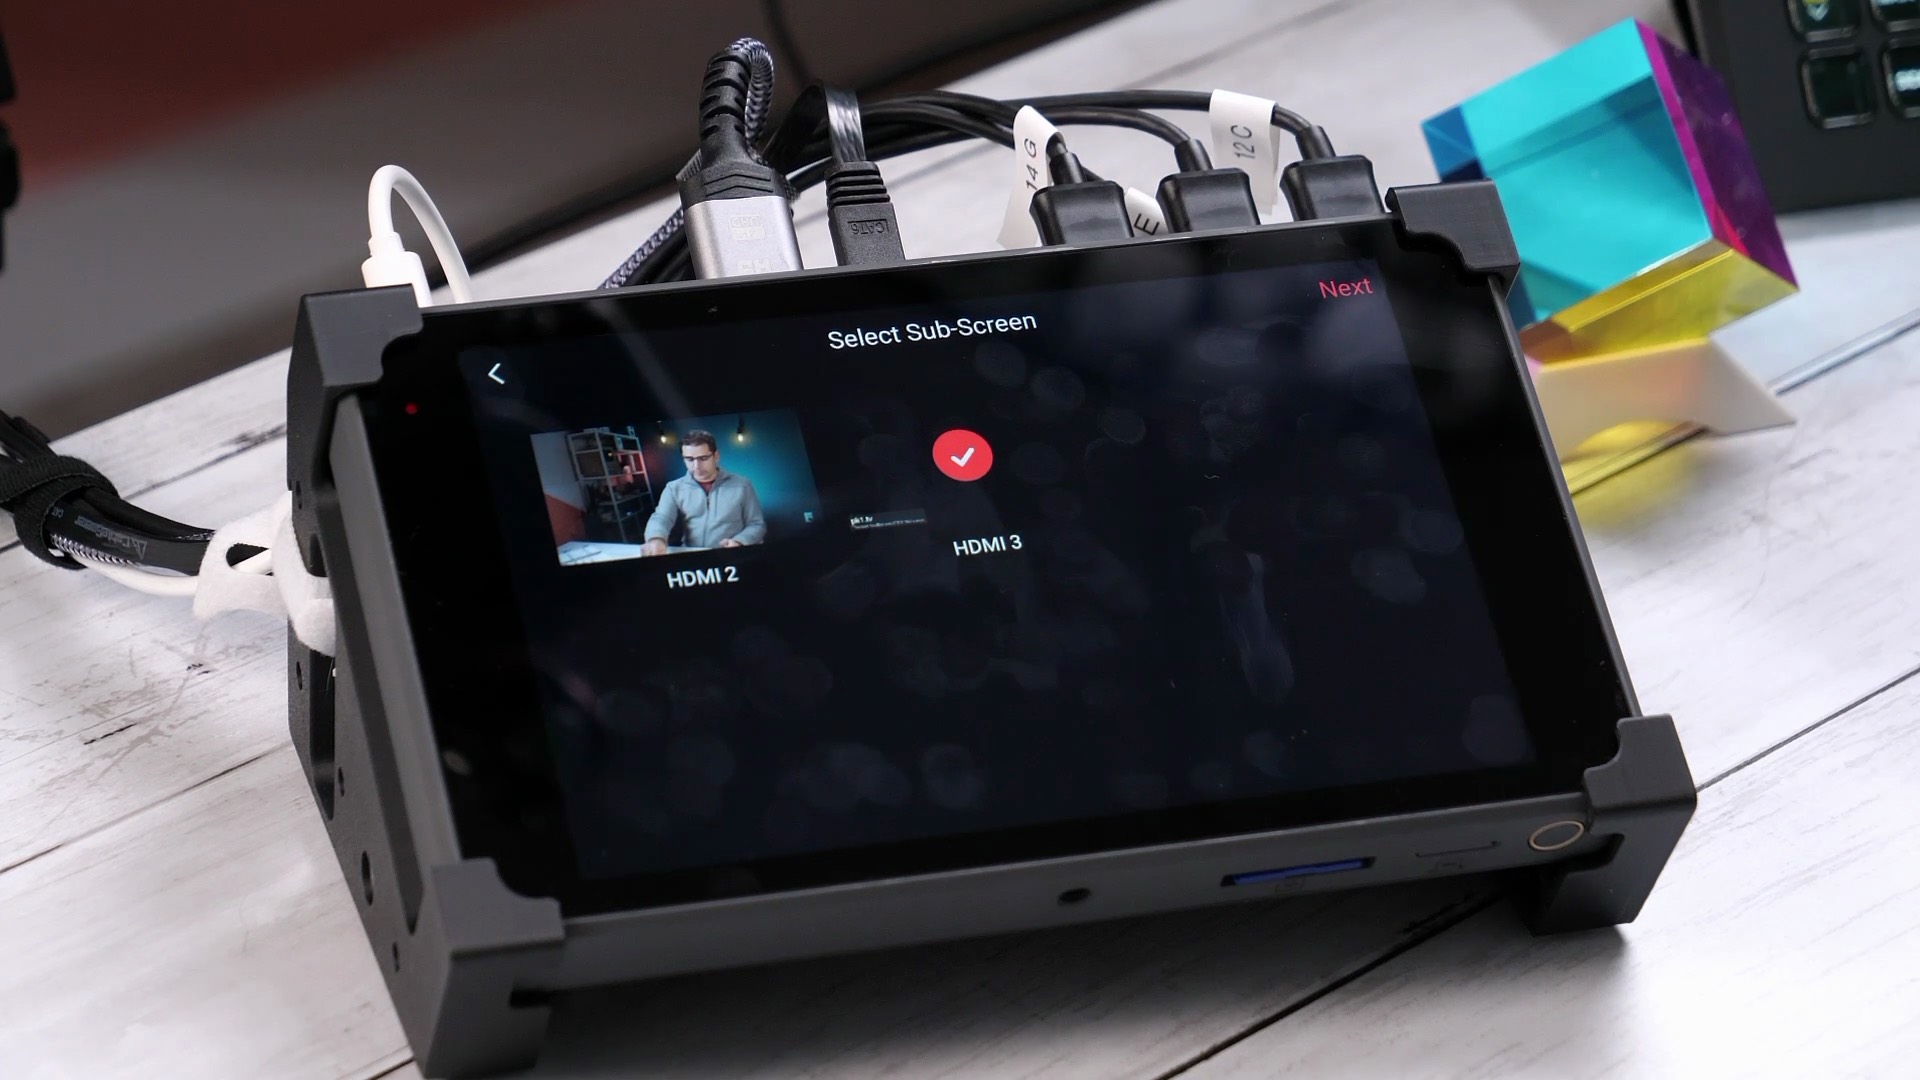
Choose "PiP Video" from the options that appear. For the "Main Screen", choose the video angle that you want to use as the full screen background that you'll key yourself on top of. This could be a top down camera or could be your computer screen with alides for a presentation. It will then ask you to choose a "Sub Screen", and that is where you'll choose your camera angle that you've already set up for chroma keying.
This is where you can choose how big you want your picture to be, and you can drag it around with your finger to change the position.
Once you save this, your new PiP layout will appear as another camera angle you can switch to.
Cropping the green screened video
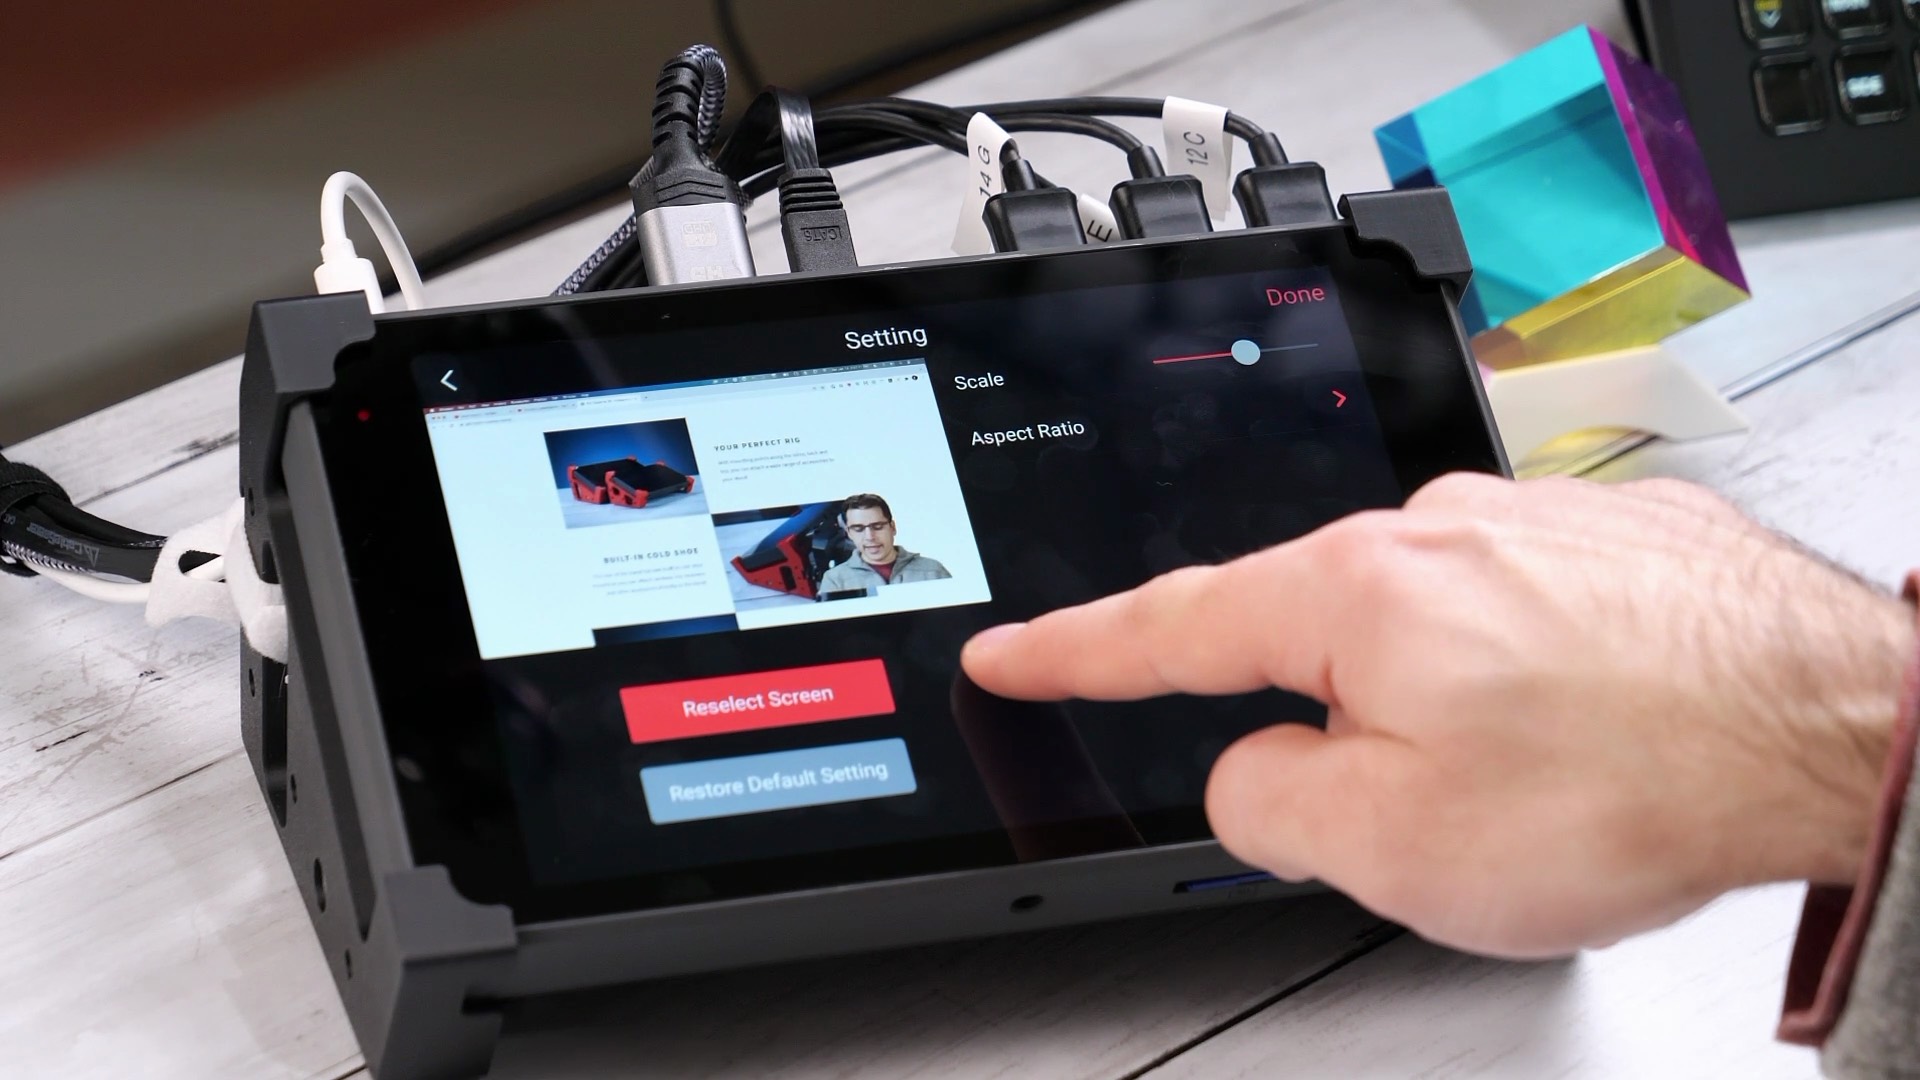
You may notice that if your green background doesn't cover the entire frame, you'll have black borders on the sides of your chroma keyed image. The YoloBox doesn't exactly have a cropping feature to fix this, but you can use the "Aspect Ratio" setting to crop the background.
You can edit your PiP video settings and choose "1:1" in the Aspect Ratio option to crop your video to a square, removing the black borders from the edges.

Adding computer graphics using the chroma key
Lastly, let's look at how to bring in graphics from an external computer source and key them out on the YoloBox.
When you plug in your computer's HDMI to the YoloBox, your computer will see it as an external monitor. Make sure your computer screen isn't mirrored so you can still use your main computer screen separately.
You can generate graphics in any program as long as you can have it use a green background. You can create animated graphics in Keynote for example, but for this tutorial we'll use the app H2R Graphics.
In H2R Graphics, you'll first want to make sure you set the background color to a bright green like #00FF00. Then you can open up the main output window and drag it over to your second screen (the YoloBox).
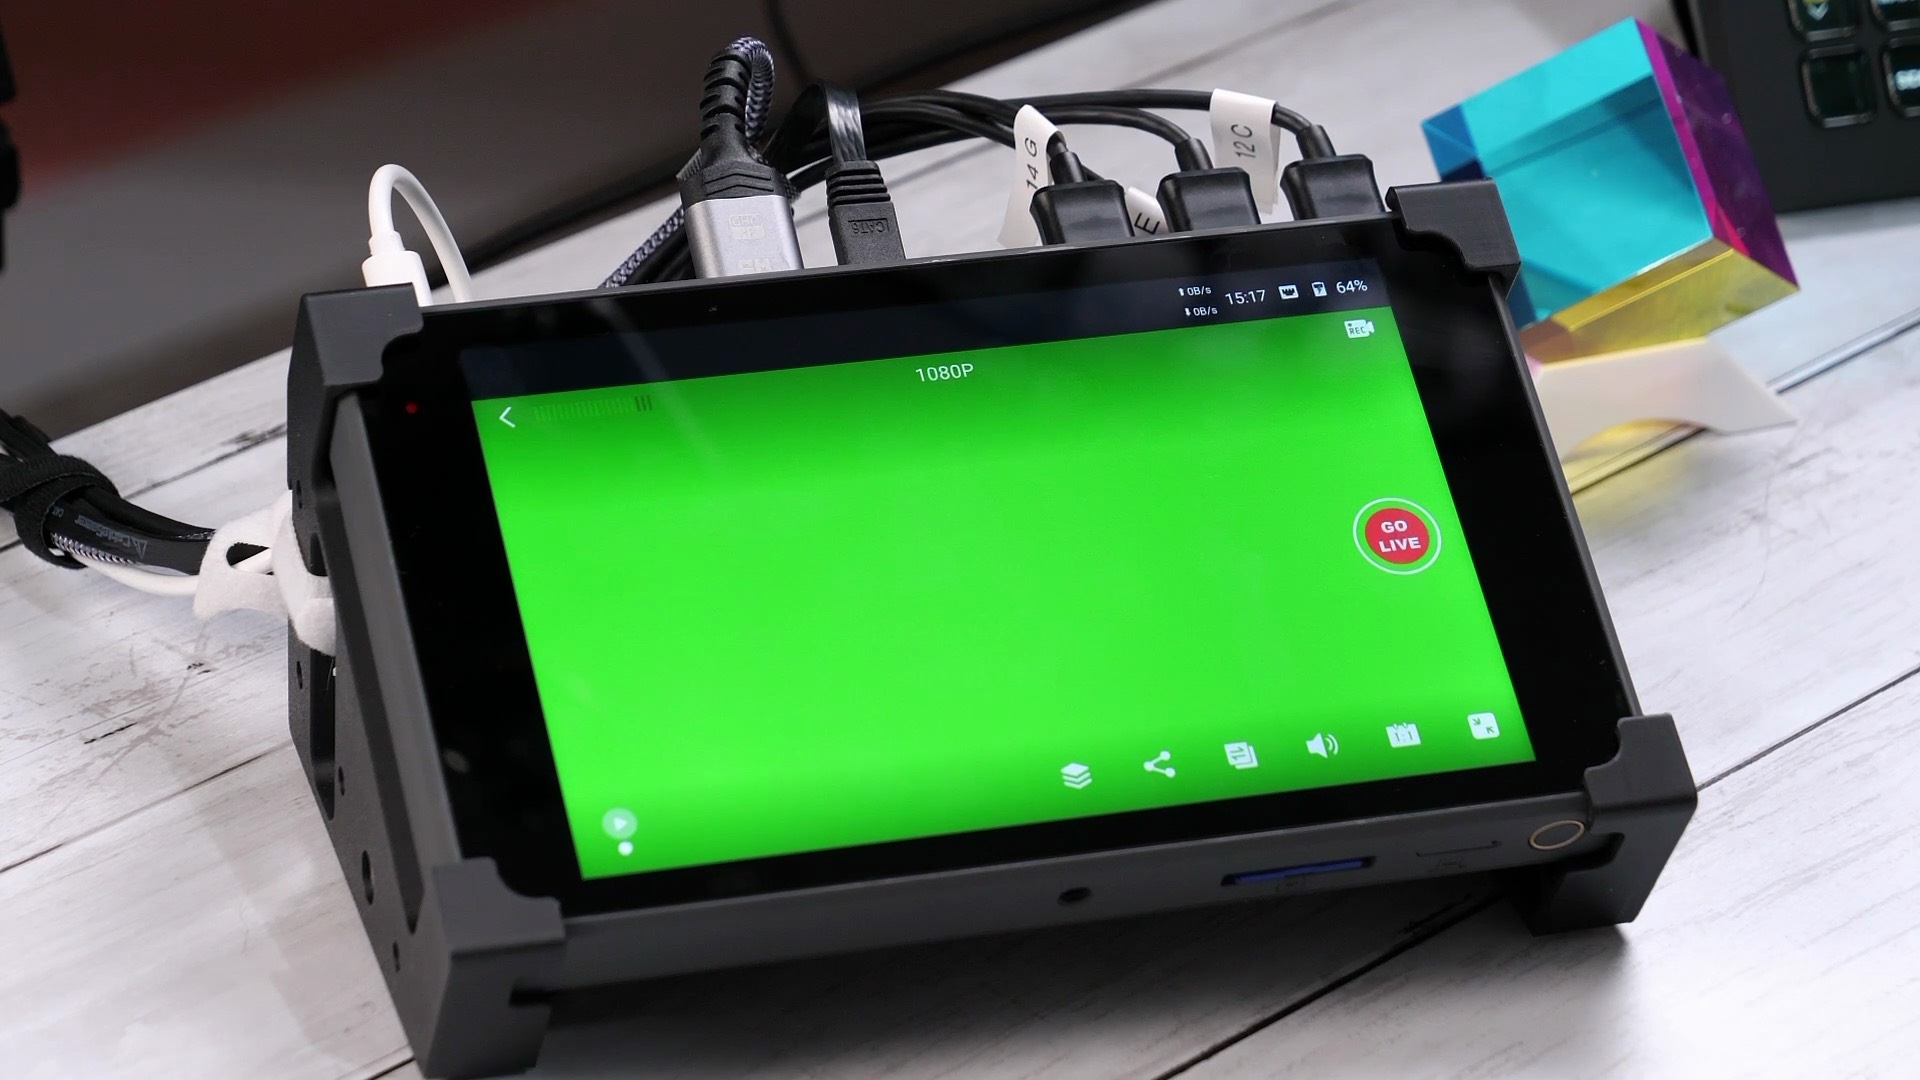
Choose the little person icon in the top right corner of the HDMI input of your computer screen to bring up the keying settings for it.
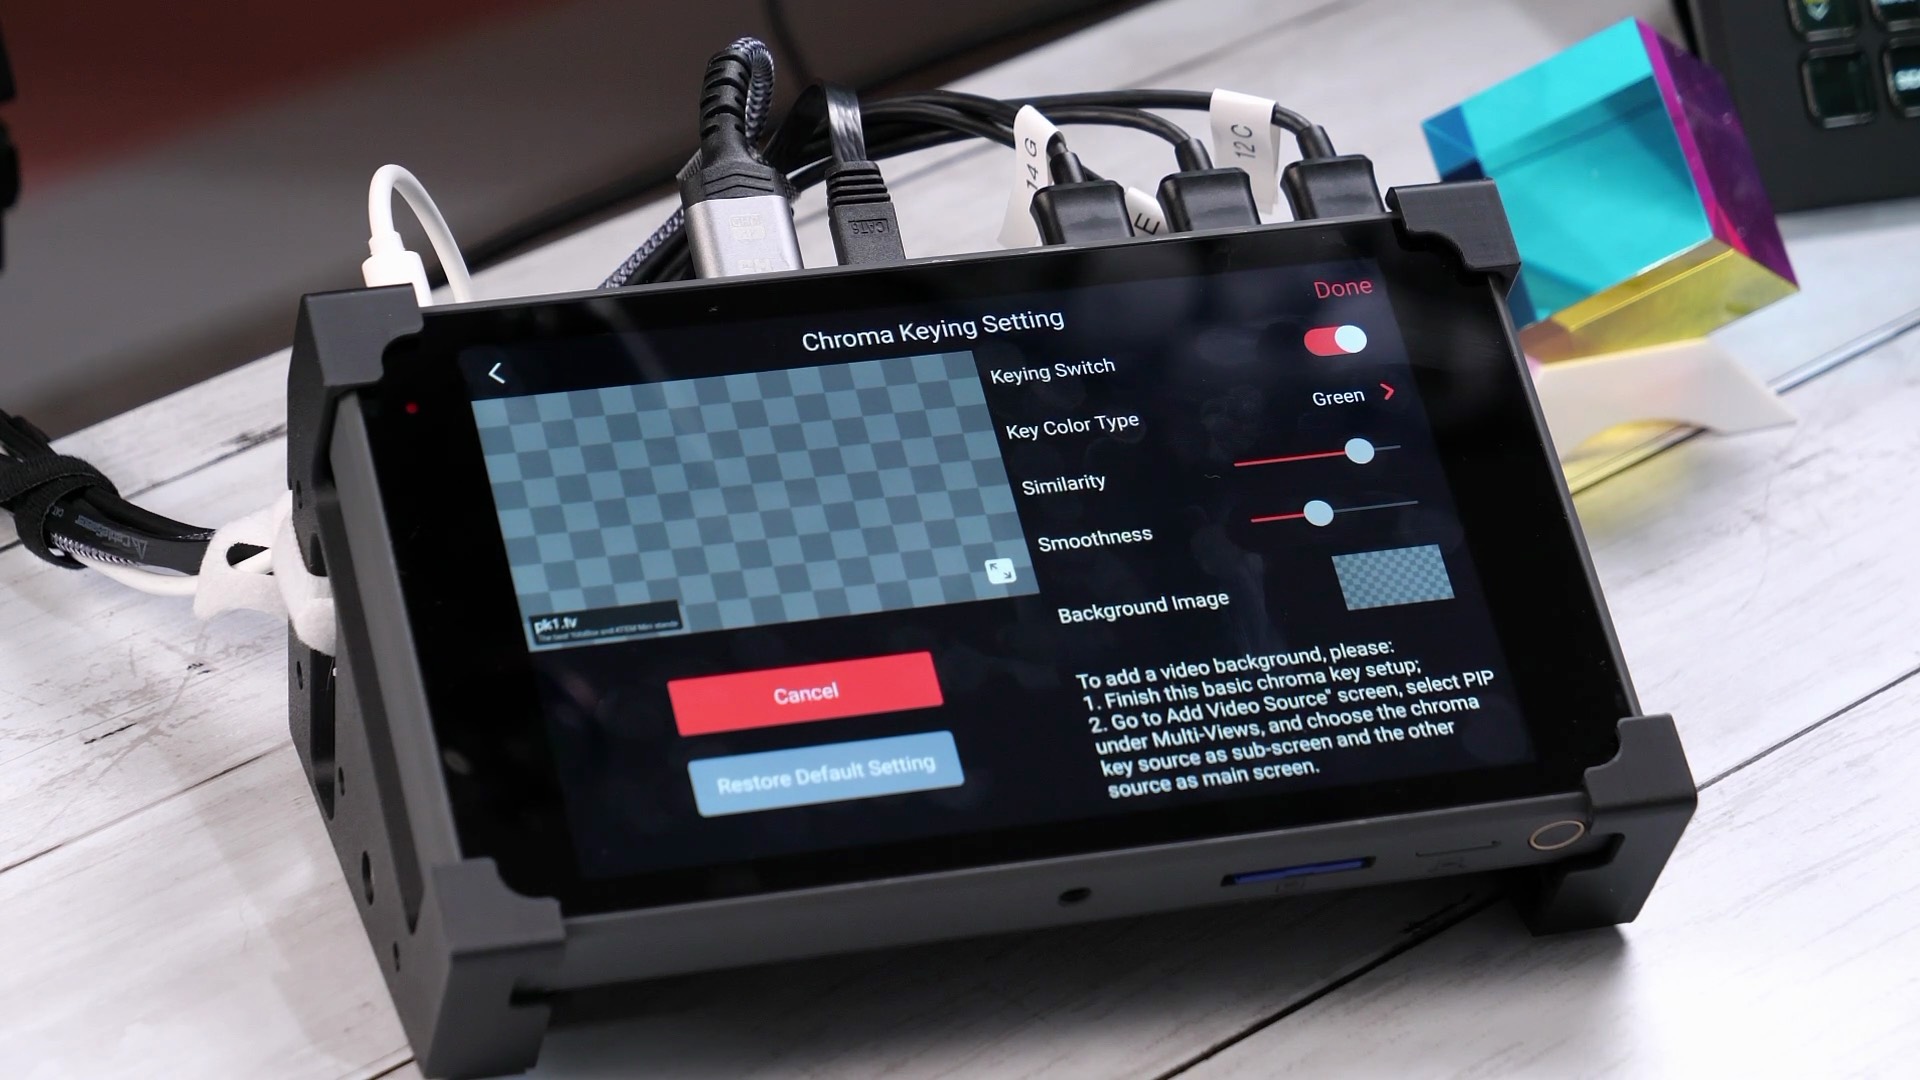
The defaults should look fine, but you can also make any adjustments here if you need. Click "Done" to save the settings.
Now you can create a new PiP layout with your main video as the background and your computer screen keyed out as the foreground or "Sub Screen".
For the Main Screen, choose the video angle you want to use as the background.
For the Sub Screen, choose your computer screen which should now have a transparent background.
Now the layout with your H2R Graphics output window is created as the PiP angle you can choose.
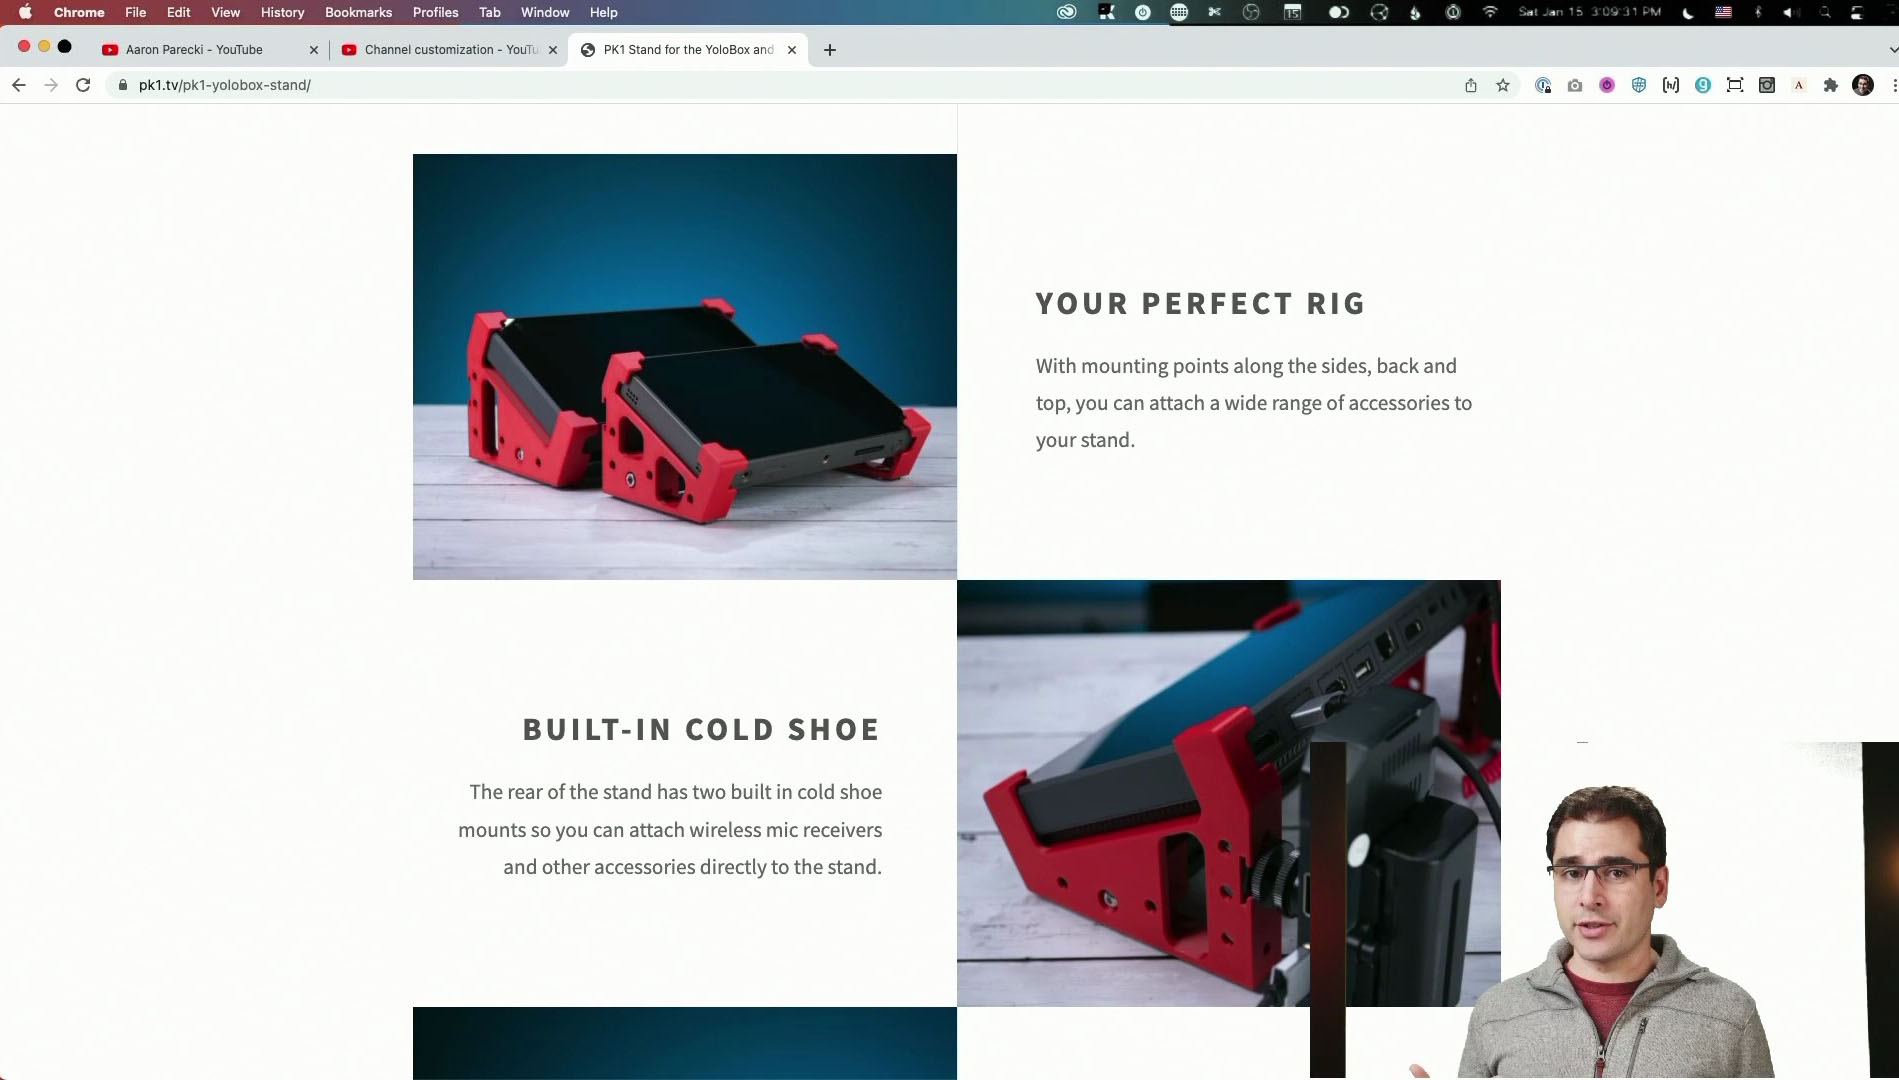
My YoloBox stand
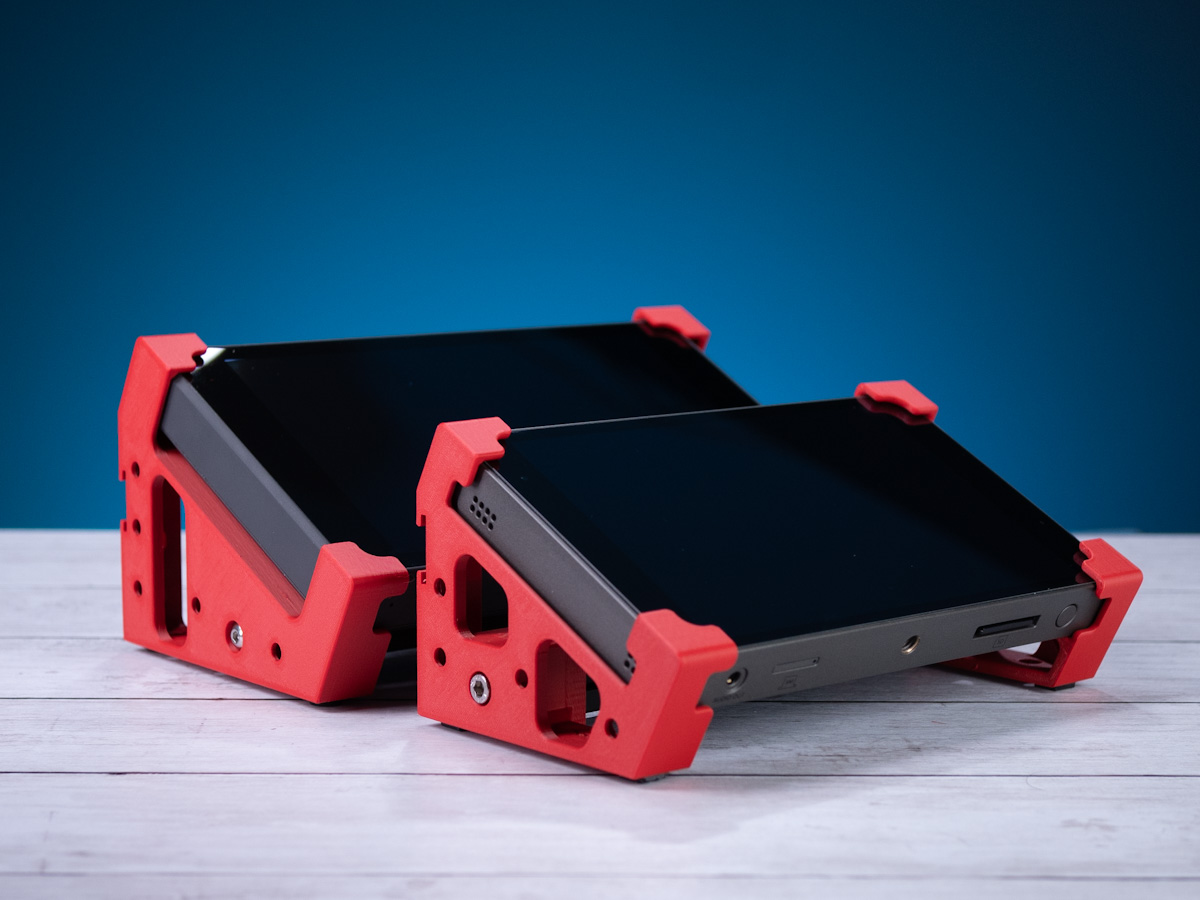
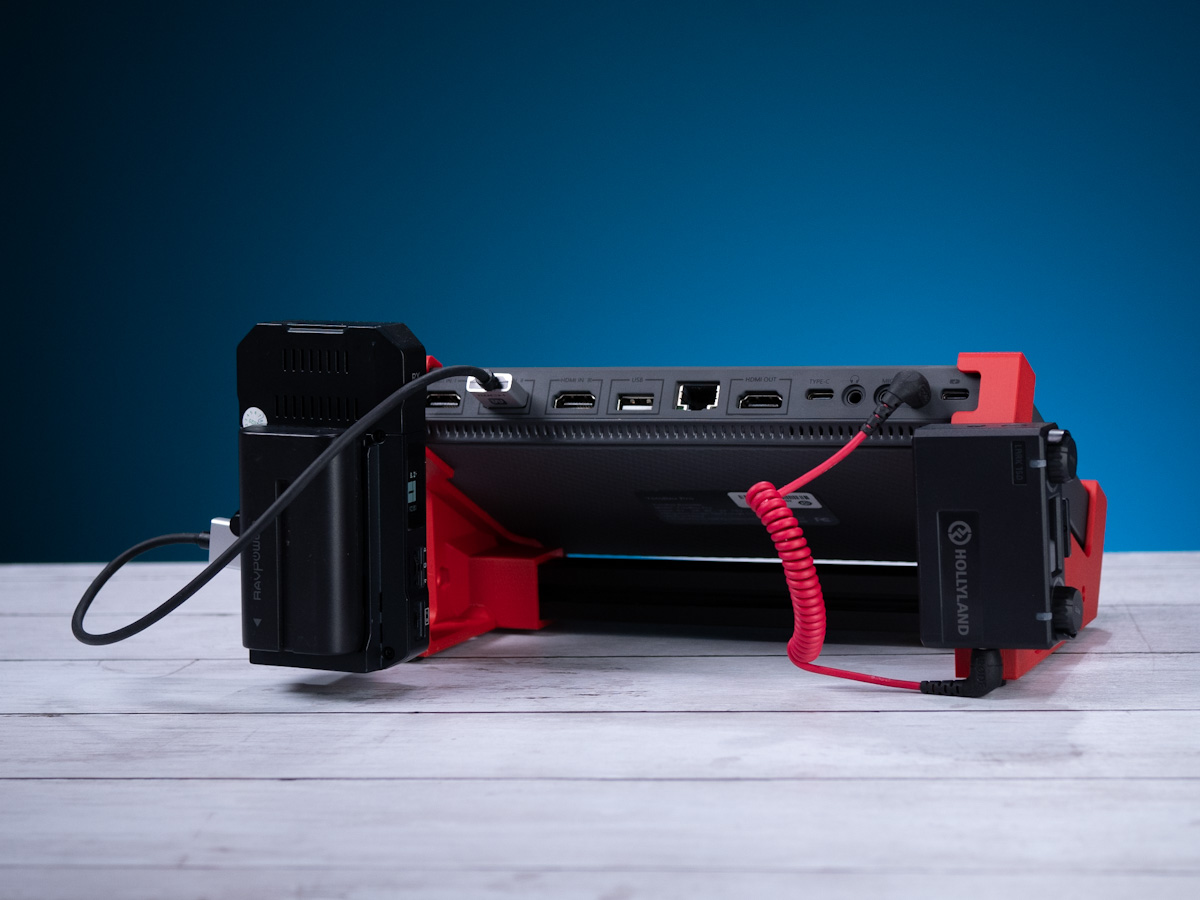
If you haven't already seen it, be sure to check out my YoloBox stand I created! It tilts the YoloBox forward so it's easier to use on a desk, and you can also attach things to the cold shoe mounts on the back.
We have a version for both the YoloBox Pro and the original YoloBox, and it comes in red and black!
You can see the full video version of this blog post on my YouTube channel!
