

WeChat ID
aaronpk_tv
#livestream
-
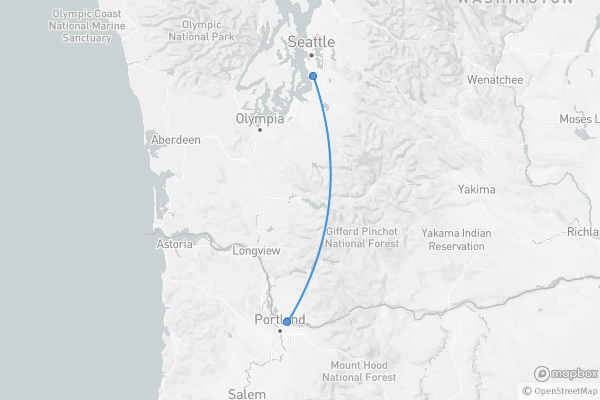
 Livestreaming the BikePortland event
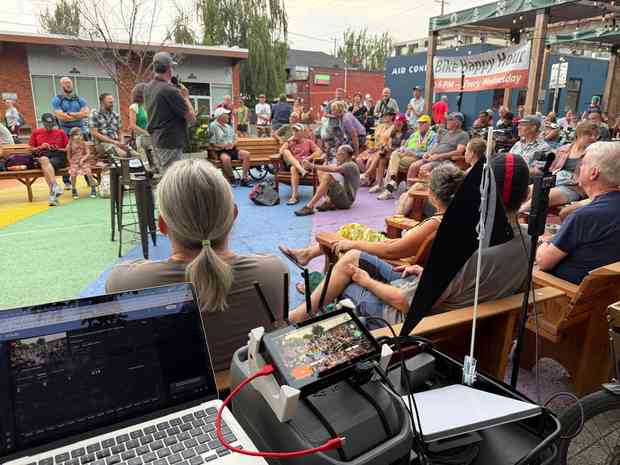
-
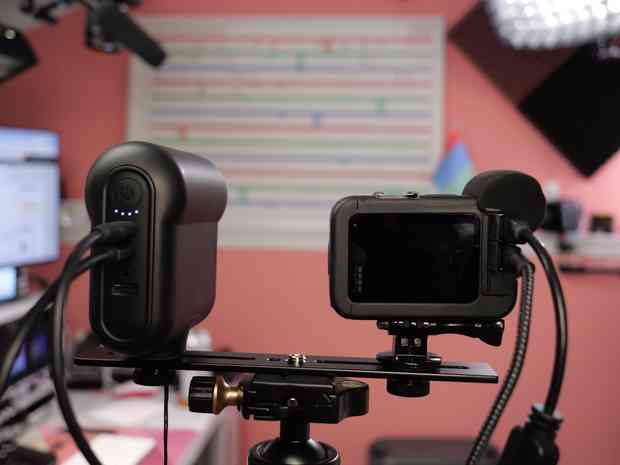
Had some fun testing out the AVKANS Go they sent me during the livestream today! At around the same price as a GoPro, it's a clear winner vs the GoPro for livestreaming!
-
Didn't do much other than the livestream today and prepping a video to publish tomorrow. Oh, and lots and lots of sorting files on my giant stack of hard drives.
-
Had some fun playing with sending video feeds over a Tailscale VPN on the livestream today!
-
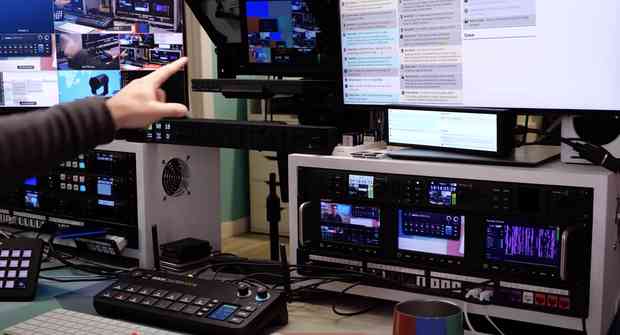
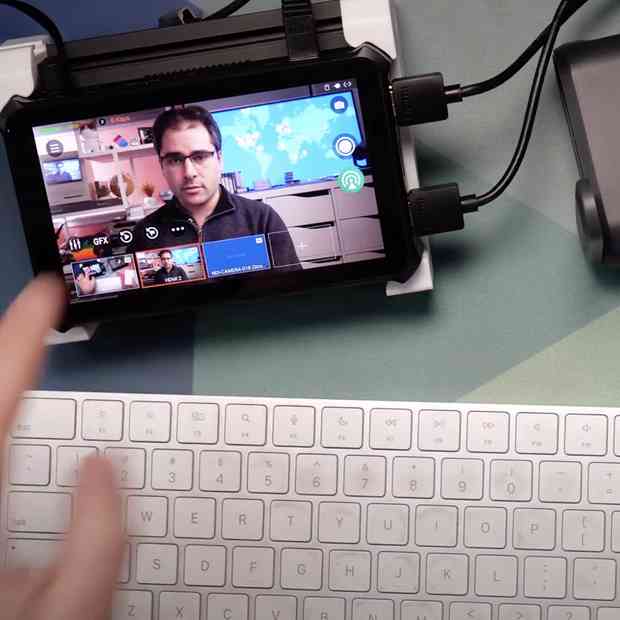
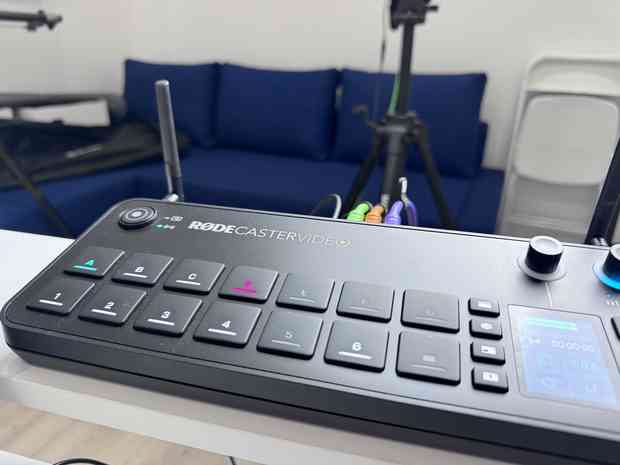
Did a livestream with the RØDECaster Video in the new unit
-
Managed to put together the livestreaming gear in time for Lily's regularly scheduled stream!
I'm pretty happy with how relatively unobtrusive the rig is compared to the space we have available for it!
-
This morning I noticed I have a new feature in YouTube called "Go Live Together", an easy way to bring in guests to your livestream. So what better way to test it out than to try it LIVE right now?
Join me and @PhotoJoseph over here in 20 minutes!
https://www.youtube.com/watch?v=93xaRo4yhnE -
BTS: Watch these pros #livestream produce at #ResolveCon Day 2. Love that they’re sharing behind-the-scenes so future producers can see what can and will go wrong and how to fix it. There are many variables and that’s how new solutions are discovered. Great job Joseph and Aaron!
-
Today I'm taking part in a virtual conference spread across 7 different YouTube channels! It's "Stream Day 22" all about livestreaming with a great group of creators and it's happening now! ✨
Full schedule with links to all the YouTube videos https://heretorecord.com/streamday/ -
Well this was an EPIC! TY @YoloLivTech for organizing w @AputureLighting @Hollyland_Tech @rodemics @Inux3D @SmallRigGlobal & @aaronpk for producing this amazing #livestream of #livestreamers & #contentcreators 🎉 Great to see @rockynashlive @photojoseph post @NABShow too 🙌