In this tutorial we'll use a Raspberry Pi to build an RTMP server that plays out any video stream it receives over the Raspberry Pi's HDMI port automatically. This effectively turns a Raspberry Pi into a Blackmagic Streaming Bridge.
You can use this to stream from OBS or an ATEM Mini across your local network or the internet, and convert that to an HDMI signal in your studio to mix with other HDMI sources locally.
Parts
Here's a list of all the parts you'll need for this.
Of course, you'll need a Raspberry Pi. It doesn't need a ton of RAM, I got one with 4GB but it would probably work fine with 2GB as well. I prefer to buy the parts individually rather than the full kits, but either way is fine. If you get the bare Raspberry Pi you'll need to make sure to get a good quality power supply like this one.
I have tested this on a Raspberry Pi 3, and it does work, but there's much more of a delay, so I definitely recommend doing this with a Raspberry Pi 4 instead.
Get a good quality SD card for the Pi. We won't be doing anything super disk intensive, but it will generally perform a lot better with an SD Card with an "A1" or "A2" rating. You don't need much disk space, 16gb, 32gb or 64gb cards are all good options. The "A1" or "A2" ratings mean the card is optimized for running applications rather than storing photos or videos. I like the Sandisk cards, either the 32gb A1 or the slightly faster 64gb A2.
You'll need a case for the Pi as well. I like this one which is also a giant heat sink so that it's completely silent.
The Raspberry Pi 4 has a Micro HDMI port rather than a full size, so you'll need a cable to plug that in to a regular size HDMI port like this one.
Make sure you have your Raspberry Pi and whatever device you're streaming from connected via a wired network. While this will probably work over wifi, I wouldn't count on wifi to be reliable or fast for this.
Prepare the Raspberry Pi SD Card
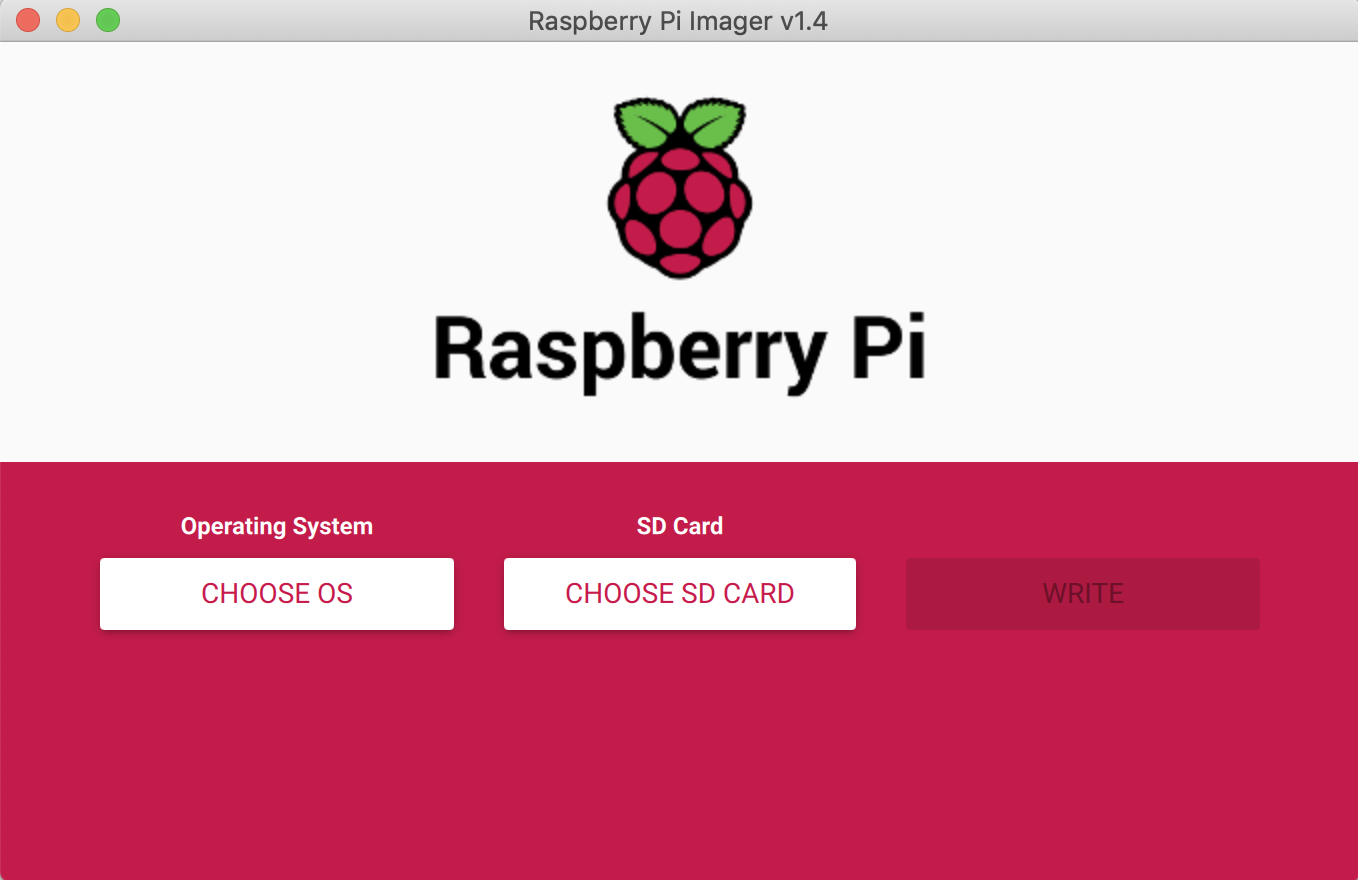
First, head over to raspberrypi.org/downloads to download the Raspberry Pi Imager app. This app makes it super easy to create an SD card with the Raspberry Pi OS.
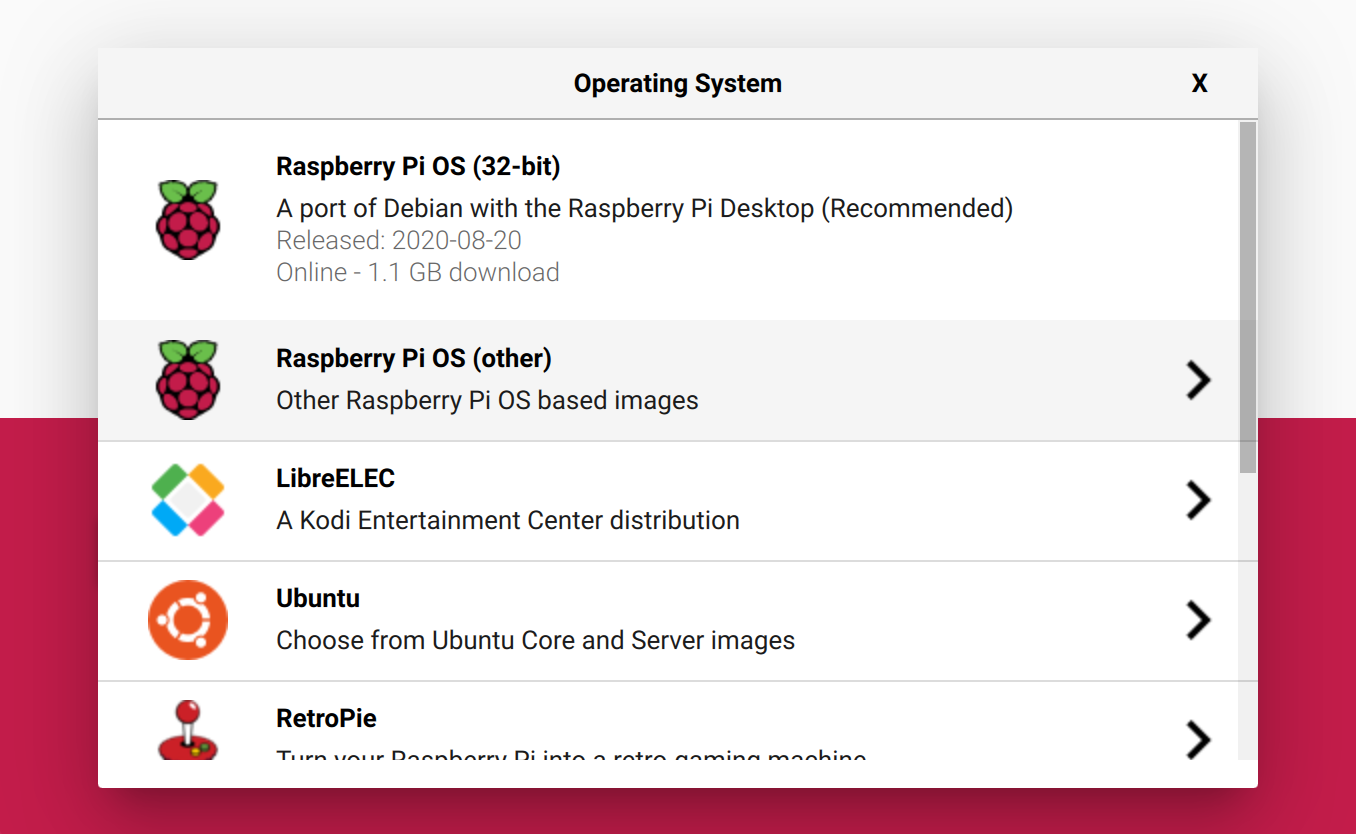
When you choose the operating system to install, select "Other"
then choose "Lite"
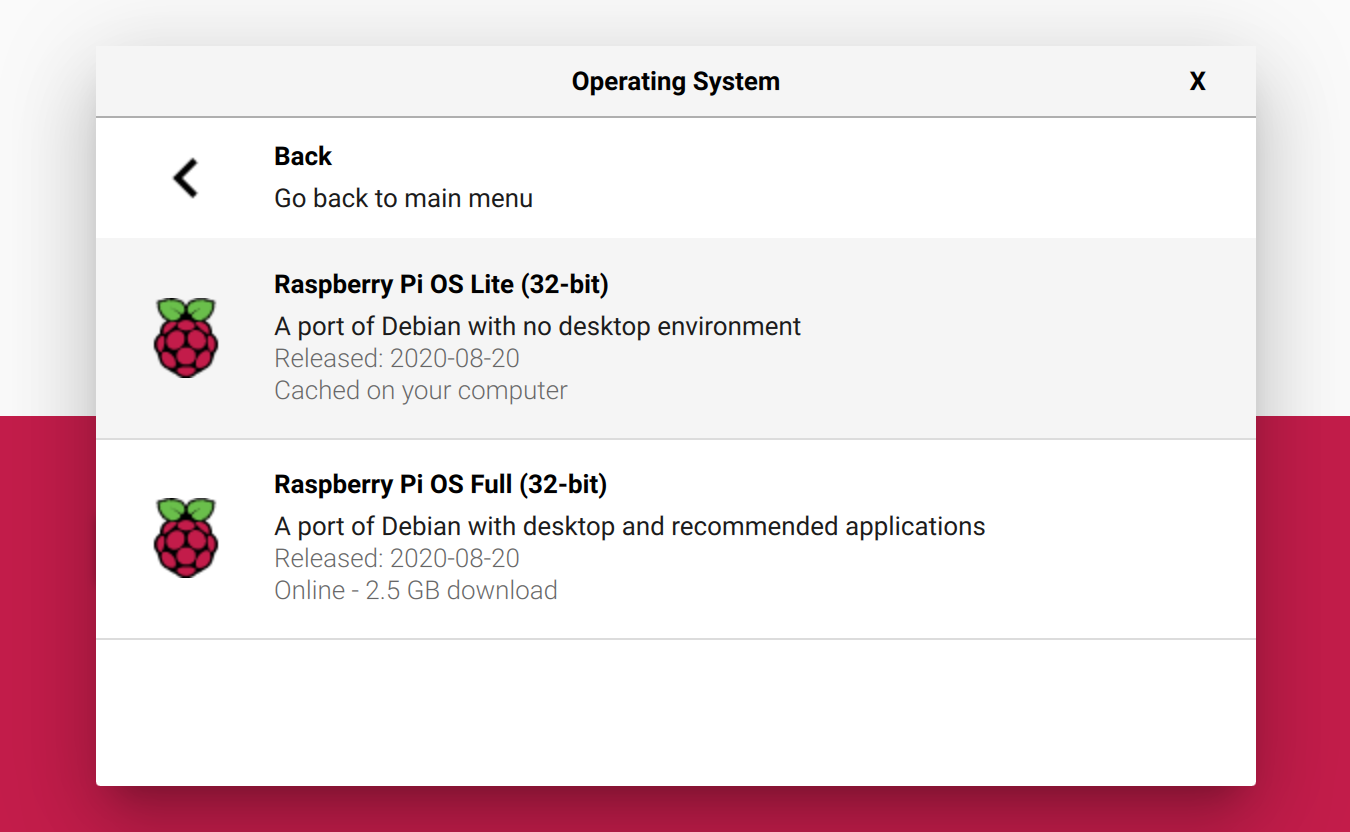
We don't need a desktop environment for this so it will be easier to use the command line.
Go ahead and write this to the SD card, then take out the SD card and put it into the Raspberry Pi.
Configure the OS
The first time you boot it up it will take a few seconds and then it will prompt you to log in.
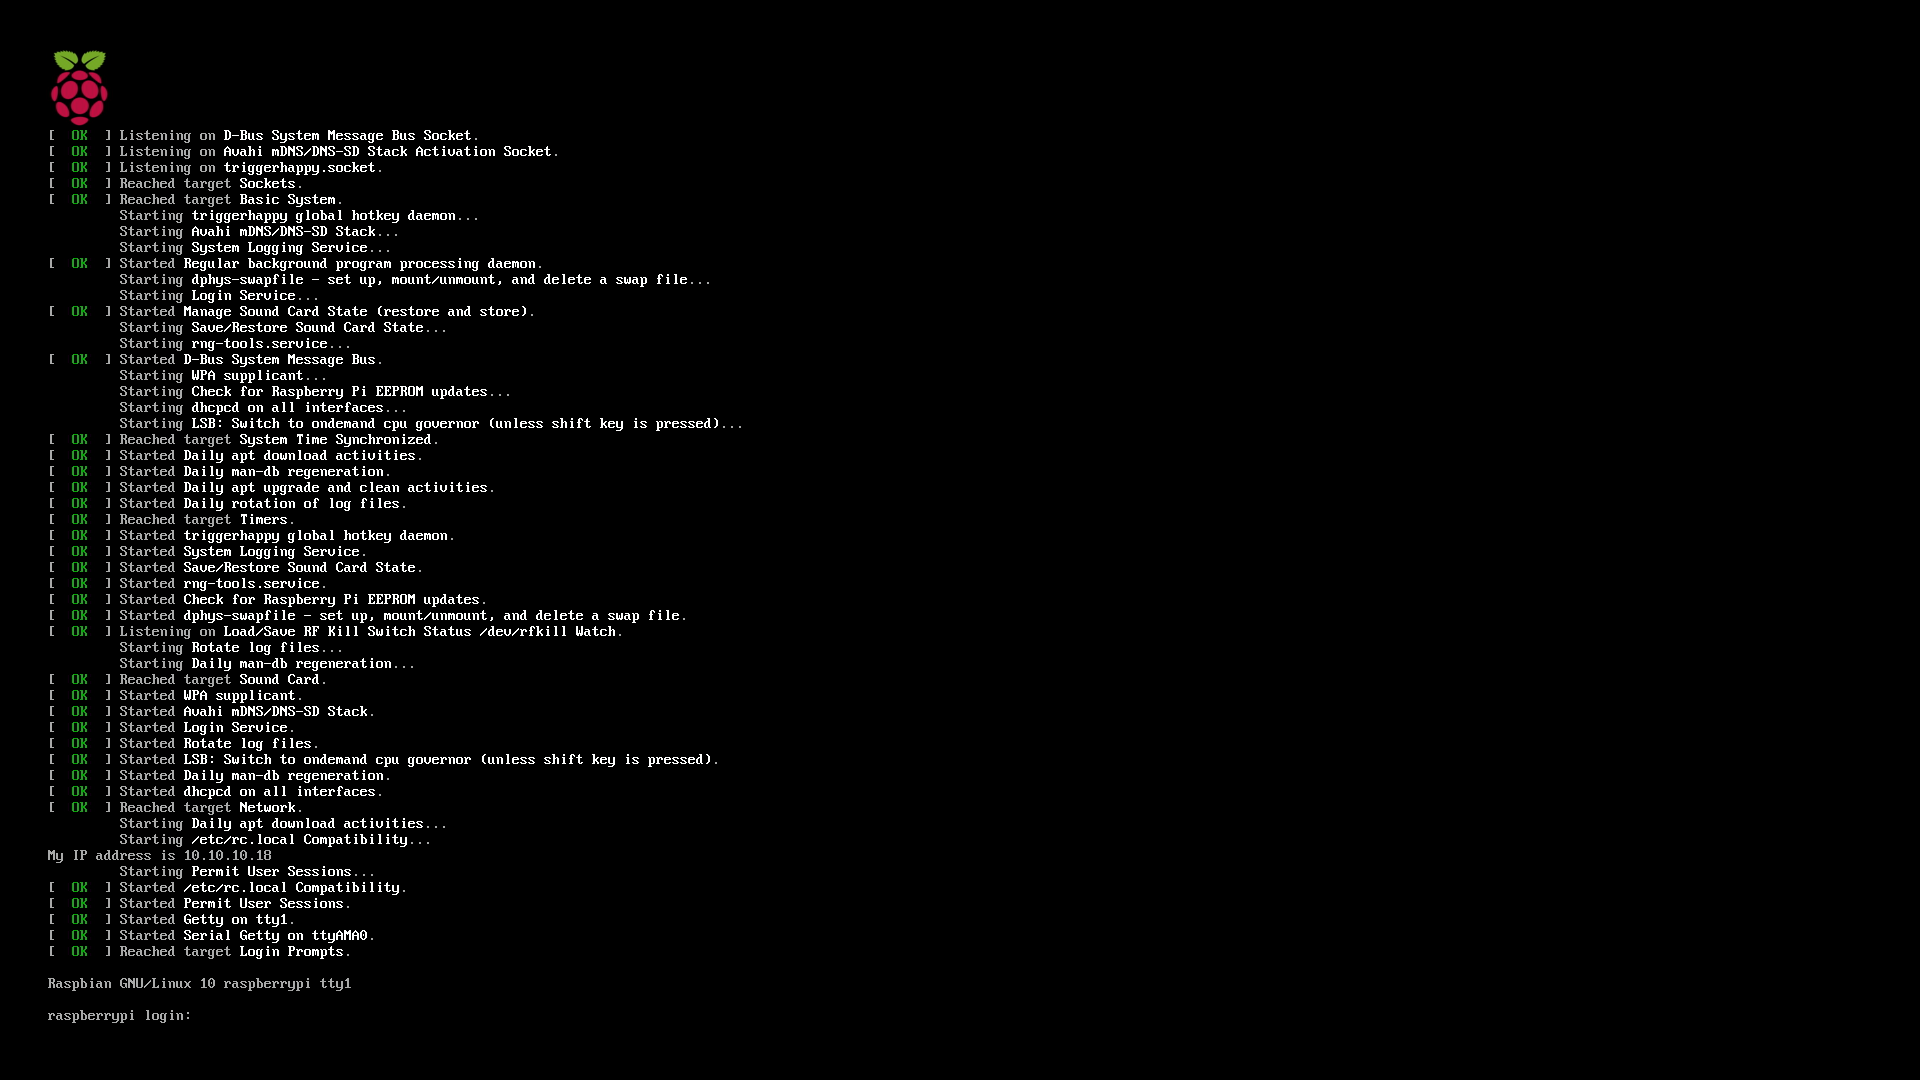
Log in using the default username and password. Enter the username "pi", and then type the password "raspberry". You won't see the password as you're typing it.
It's a good idea to change the password to something else, so go ahead and do that now. Type:
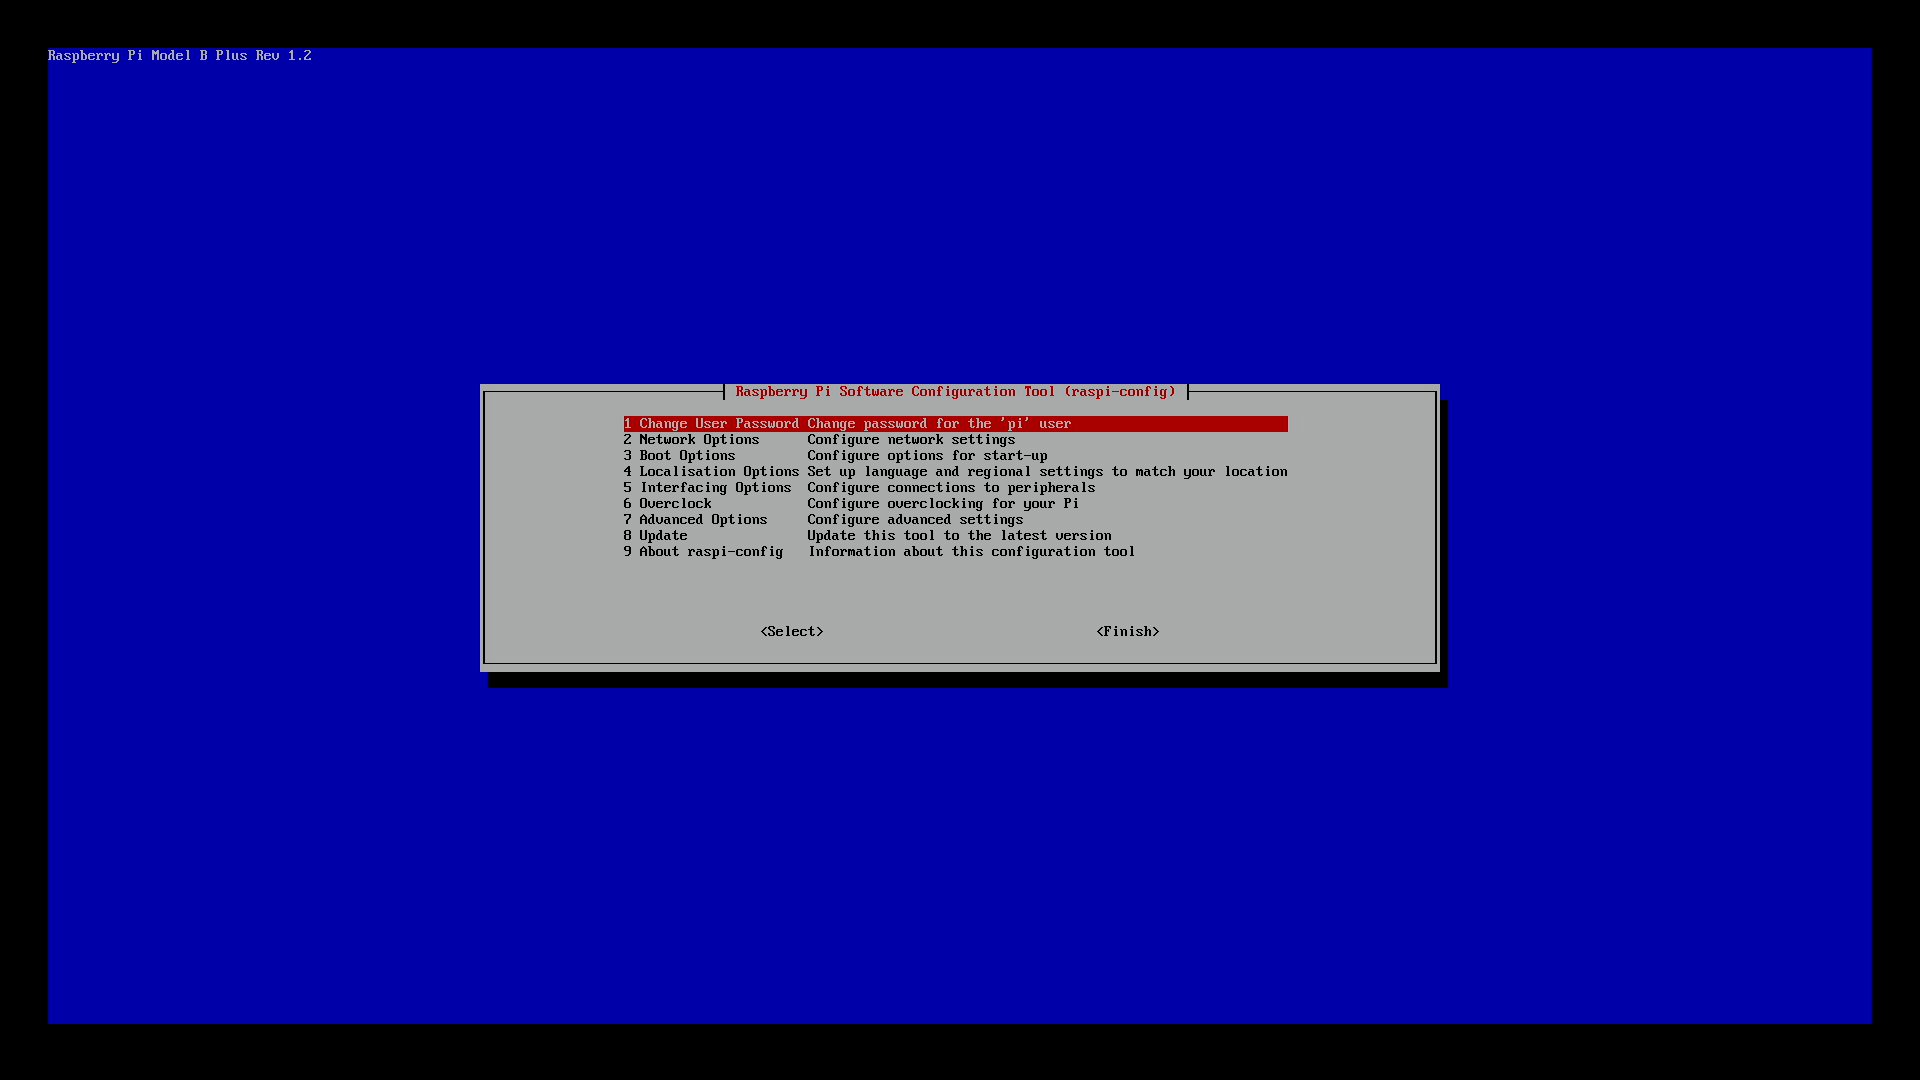
sudo raspi-config
and choose the first option in the menu by pressing "Enter". When you type the new password, you won't see it on the screen, but it will ask you to type it twice to confirm. Press "tab" twice to select "Finish" to close out of this menu.
Next we need to configure the video mode so we know what kind of signal the Raspberry Pi will be sending on the HDMI port. You'll need to edit a text file to make these changes.
sudo nano /boot/config.txt
This will launch a text editor to edit this file. We need to change the following things in the file. These may be commented out with a # so you can delete that character to uncomment the line and make the necessary changes. These options are documented here.
# Make sure the image fits the whole screen
disable_overscan=1

# Set HDMI output mode to Consumer Electronics Association mode
hdmi_group=1

# Enable audio over HDMI
hdmi_drive=2

# Set the output resolution and frame rate to your desired option

# 1920x1080 60fps
hdmi_mode=16

# 1920x1080 25fps
hdmi_mode=33

# 1920x1080 30fps
hdmi_mode=34
To save your changes, press Ctrl+X and then "Y" to confirm, then "Enter". At this point we need to reboot to make the changes take effect, so type:
sudo reboot
and wait a few seconds for it to reboot.
Install and Configure Software
We'll be using nginx with the RTMP module as the RTMP server, and then connect omxplayer to play out the stream over the HDMI port.
Install the necessary software by typing:
sudo apt update
sudo apt install omxplayer nginx libnginx-mod-rtmp
We need to give nginx permission to use the video port, so do that with the following command:
sudo usermod -aG video www-data
Now we need to set up an RTMP server in nginx. Edit the main nginx config file:
sudo nano /etc/nginx/nginx.conf
Scroll all the way to the bottom and copy the below text into the config file:
rtmp {
  server {
    listen 1935;

    application live {
      # Enable livestreaming
      live on;

      # Disable recording
      record off;

      # Allow only this machine to play back the stream
      allow play 127.0.0.1;
      deny play all;

      # Start omxplayer and play the stream out over HDMI
      exec omxplayer -o hdmi rtmp://127.0.0.1:1935/live/$name;
    }
  }
}
The magic sauce here is the exec line that starts omxplayer. omxplayer is an application that can play an RTMP stream out over the Raspberry Pi's HDMI port. The exec line will run this command whenever a new RTMP stream is received. The stream key will be set to the $name variable. Note that this means any stream key will work, there is no access control the way we have it configured here. You can read up on the RTMP module if you'd like to learn how to lock down access to only specific stream keys or if you want to enable recording the stream.
Save this file by pressing ctrl+X, then Y, then enter.
To test the config file for errors, type:
sudo nginx -t
If that worked, you can reload nginx to make your changes take effect:
sudo nginx -s reload
At this point the Raspberry Pi is ready! You can now stream to this box and it will output the received stream over HDMI! Any stream key will work, and you can stream using any sort of device or software like OBS. You'll need to find the IP address of the Raspberry Pi which you can do by typing
hostname -I
To stream to the Raspberry Pi, use the RTMP URL: rtmp://YOUR_IP_ADDRESS/live and anything as the stream key.
Setting up the ATEM Mini
We'll now walk through setting up an ATEM Mini Pro to stream to the Raspberry Pi.
If you're familiar with customizing your ATEM Software's Streaming.xml file, you can add a new entry with the Raspberry Pi's IP address. But there is another way which I like better, which is to create a custom streaming file that you can send to a remote guest and they can add it in their Software Control app without needing to edit any XML.
Create a new XML file with the following contents. This is the contents of one of the <service> blocks from the Streaming.xml file, wrapped with a <streaming> element.
<streaming>
    <service>
        <name>Raspberry Pi</name>
        <servers>
            <server>
                <name>Primary</name>
                <url>rtmp://RASPBERRY_PI_IP/live</url>
            </server>
        </servers>
        <profiles>
            <profile>
                <name>Streaming High</name>
                <config resolution="1080p" fps="60">
                    <bitrate>9000000</bitrate>
                    <audio-bitrate>128000</audio-bitrate>
                    <keyframe-interval>2</keyframe-interval>
                </config>
                <config resolution="1080p" fps="30">
                    <bitrate>6000000</bitrate>
                    <audio-bitrate>128000</audio-bitrate>
                    <keyframe-interval>2</keyframe-interval>
                </config>
            </profile>
            <profile>
                <name>Streaming Low</name>
                <config resolution="1080p" fps="60">
                    <bitrate>4500000</bitrate>
                    <audio-bitrate>128000</audio-bitrate>
                    <keyframe-interval>2</keyframe-interval>
                </config>
                <config resolution="1080p" fps="30">
                    <bitrate>3000000</bitrate>
                    <audio-bitrate>128000</audio-bitrate>
                    <keyframe-interval>2</keyframe-interval>
                </config>
            </profile>
        </profiles>
    </service>
</streaming>
Replace the IP address with your own, and you can customize the <name> as well which will show up in the ATEM Software Control. Save this file with an .xml extension.
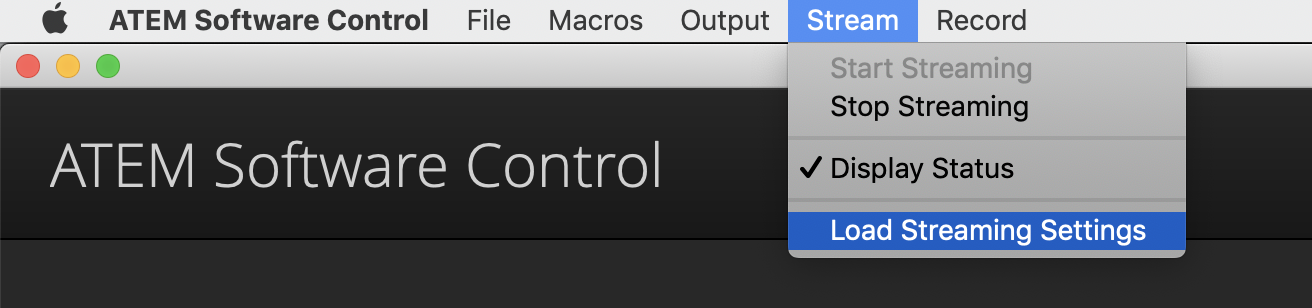
In the ATEM Software Control app, click "Stream" from the menu bar, choose "Load Streaming Settings", and select the XML file you created.
This will create a new option in the "Live Stream" section where you can stream to the Raspberry Pi instead of YouTube!
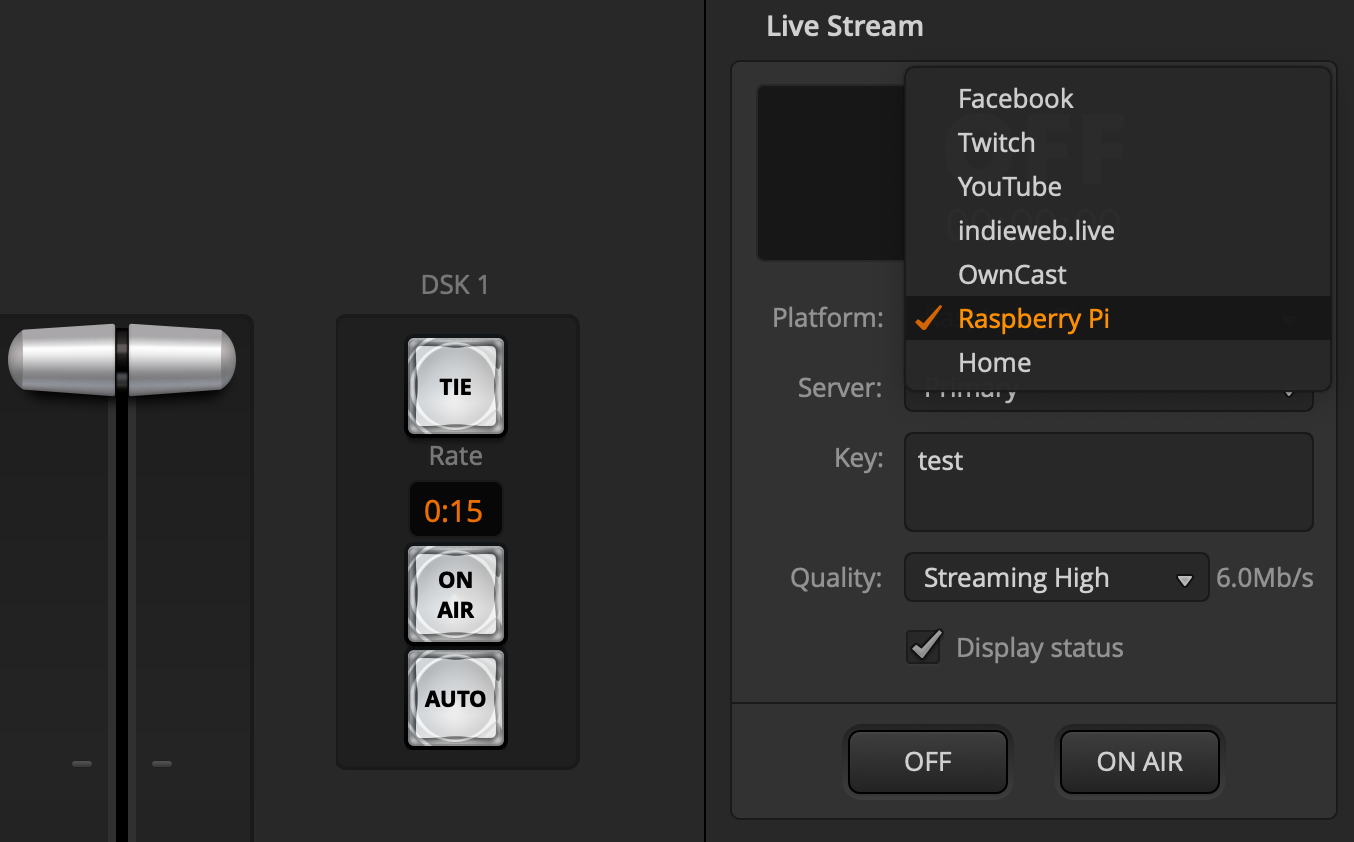
Go ahead and enter a streaming key now, it doesn't matter what you enter since there is no access control on the Raspberry Pi. Click "On Air" and in a few seconds you should see the image pop up on the Raspberry Pi!