At IndieWebCamp Austin, I was inspired by the discussion at the Payments session. In the session, we talked about the recent Patreon fee change disaster, and how creators could use their own websites to accept payments from their supporters.
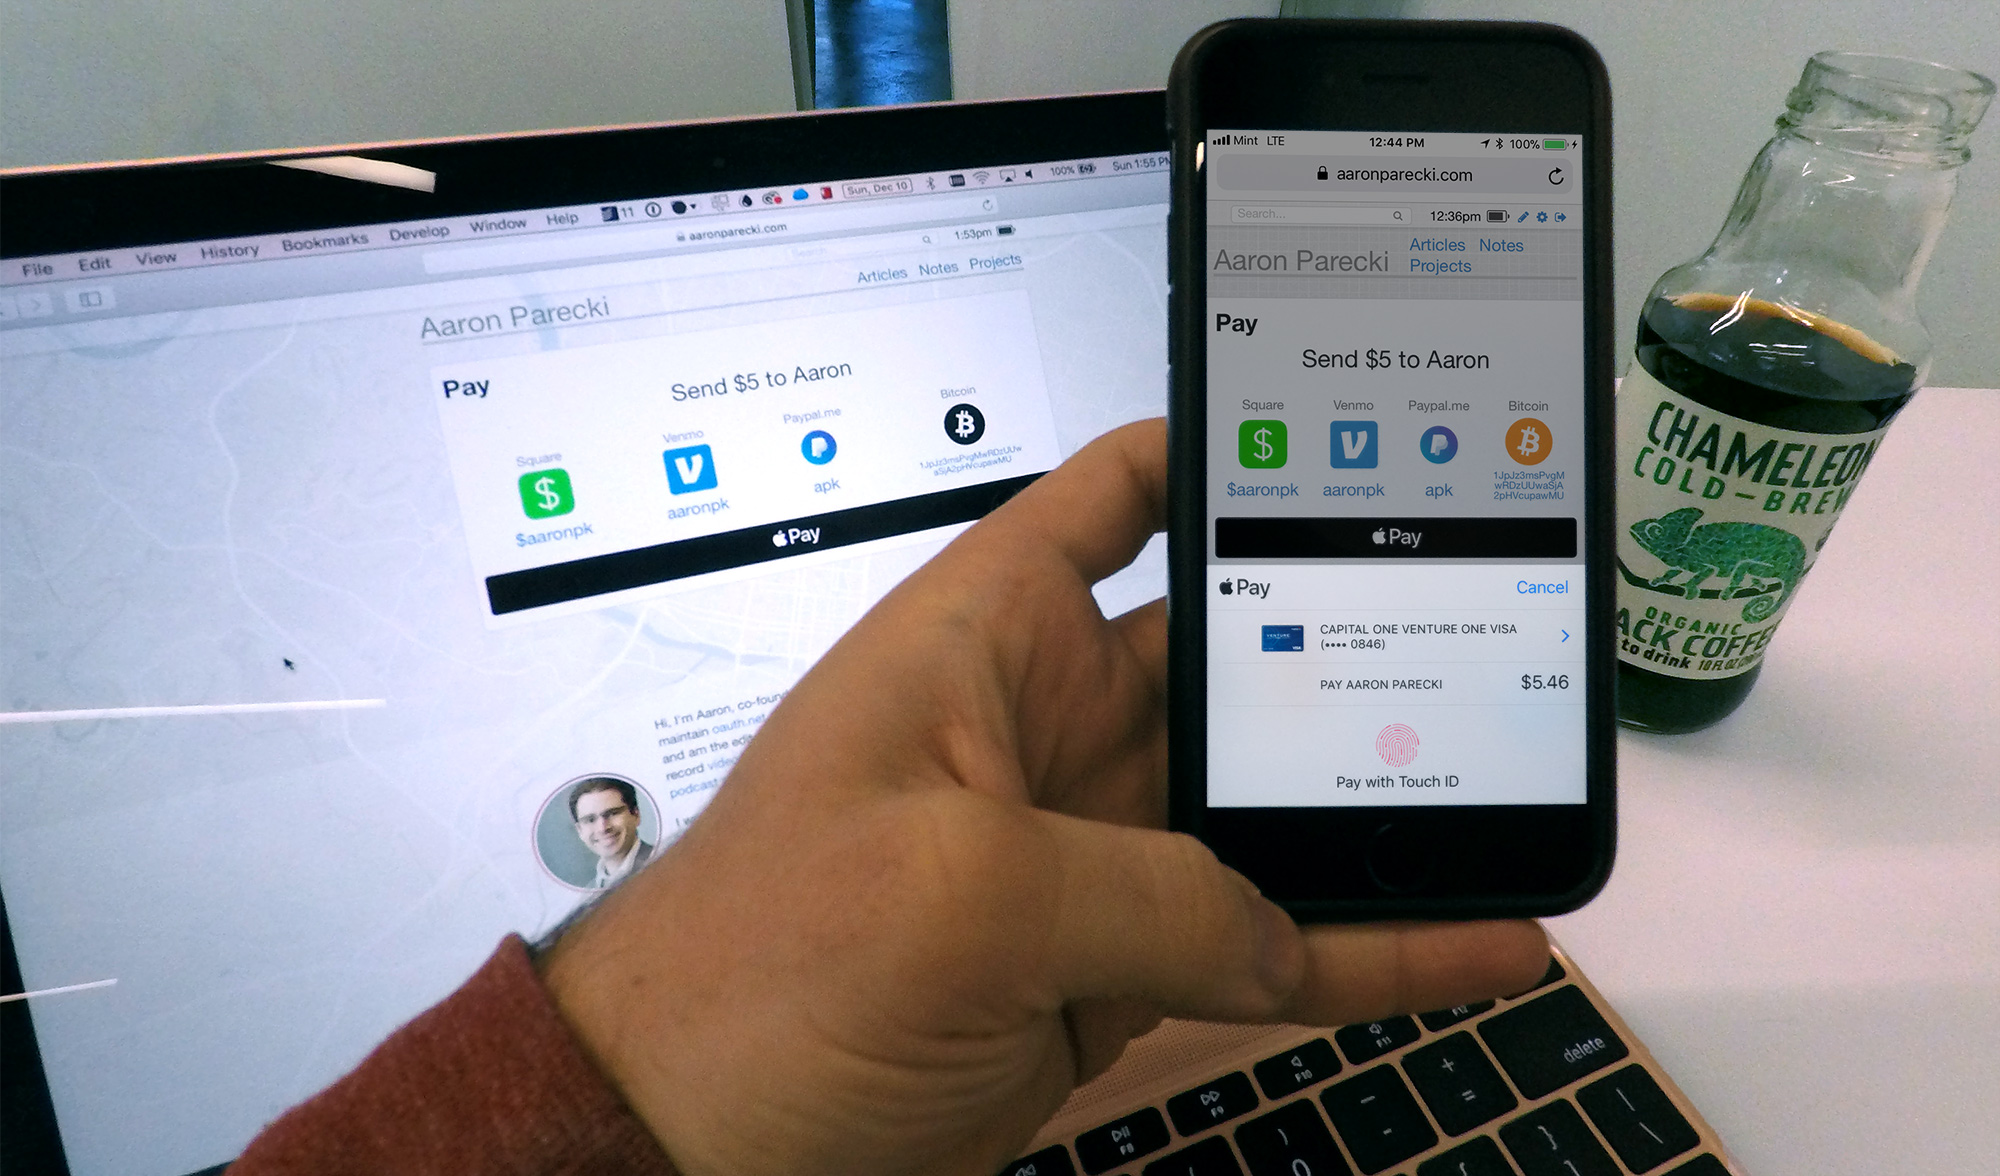
The W3C recently published a Candidate Recommendation for the new Payment Request API, which has pretty good browser support already! It turns out that Stripe has already built support for it into their library as well!
I was on the fence about trying to implement the API directly, or just using Stripe's library, and decided to take the easy route in the end. It does mean the code I wrote is mostly tied to Stripe, but they handle a bunch of edge cases and UI elements for me so it was a lot faster to implement that way.
Despite it being pretty much a drop-in replacement for their old Checkout workflow, there were a surprising number of edge cases I had to handle on my own still. For example, their button only gets activated if there is already a saved credit card in the browser, so if there aren't any existing payment methods, you have to still present a credit card UI to the user. Also you obviously need to have a fallback workflow if there is no support for the Payment Request API in the browser.
I started off by reading through the Payment Request API spec, and quickly discovered it was written from the perspective of a browser implementing it on their end, not written for developers using the API. I don't recommend reading it if you're trying to learn about this. I then discovered Google's excellent documentation on how to actually use the spec, Introduction to the Payment Request API. That one is a much better read to understand what's going on. Mozilla also has some good documentation on the API, although it's written more as a reference rather than a tutorial. In the end, I ended up just reading Stripe's documentation since I decided to use their library.
While implementing this, I decided to simplify my payment page to reduce the number of different states I had to manage. Previously, I allowed a visitor to type in their own amount. This ended up proving challenging to get to work right with Stripe's two libraries (Payment Request library and their Checkout workflow for fallback support). So instead I dropped that UI element completely. Below is what my payment page looks like if you visit it directly.
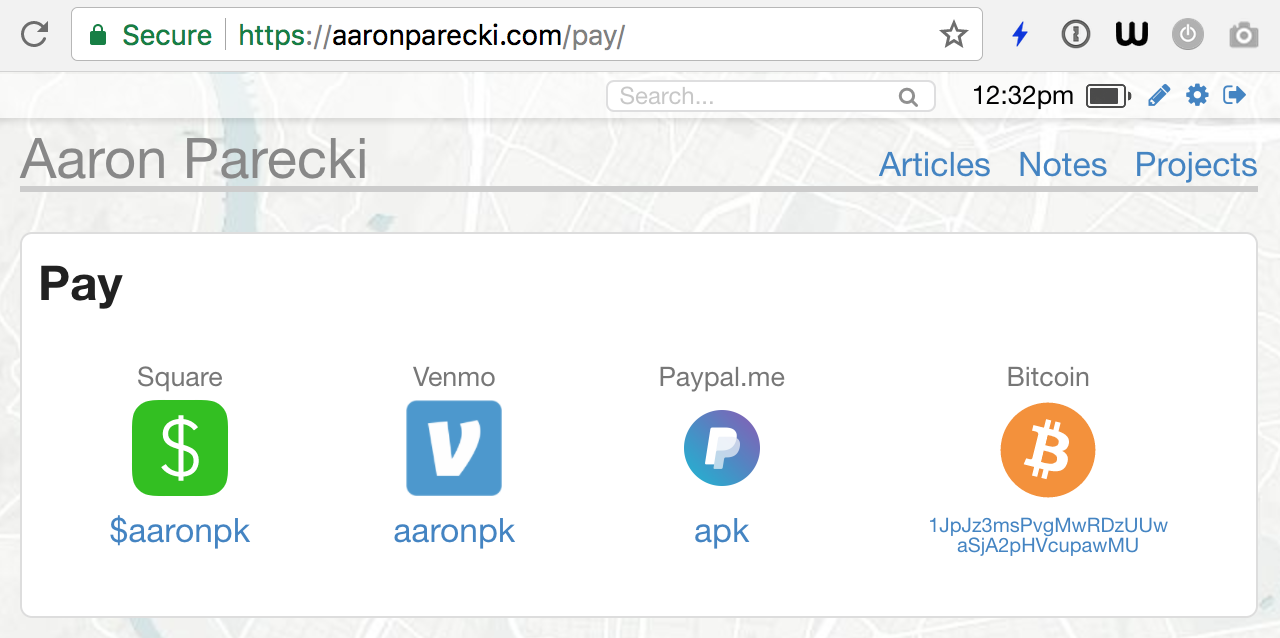
With no amount pre-filled, the payment page does not provide a credit card option. Instead, it just links out to other services you can use to send me money. Those services will prompt you for an amount later.
I added support to my URL structure for adding a number to the end of the URL. So if you visit a URL like aaronparecki.com/pay/5, the idea is to present you with an easy way to send me $5.
In browsers that support the Payment Request API such as Chrome, and if there is already credit card info saved in the browser, I render the Stripe Payment Request button with the set amount, which looks like the below.
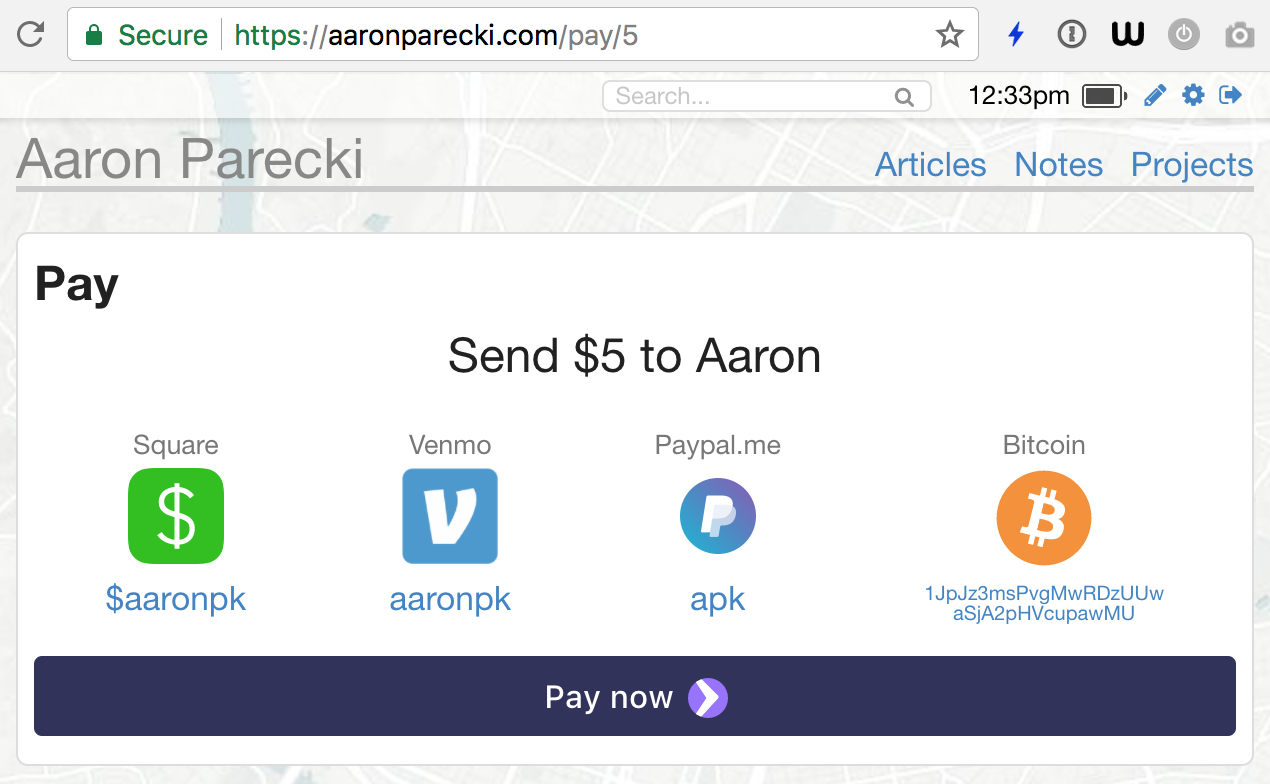
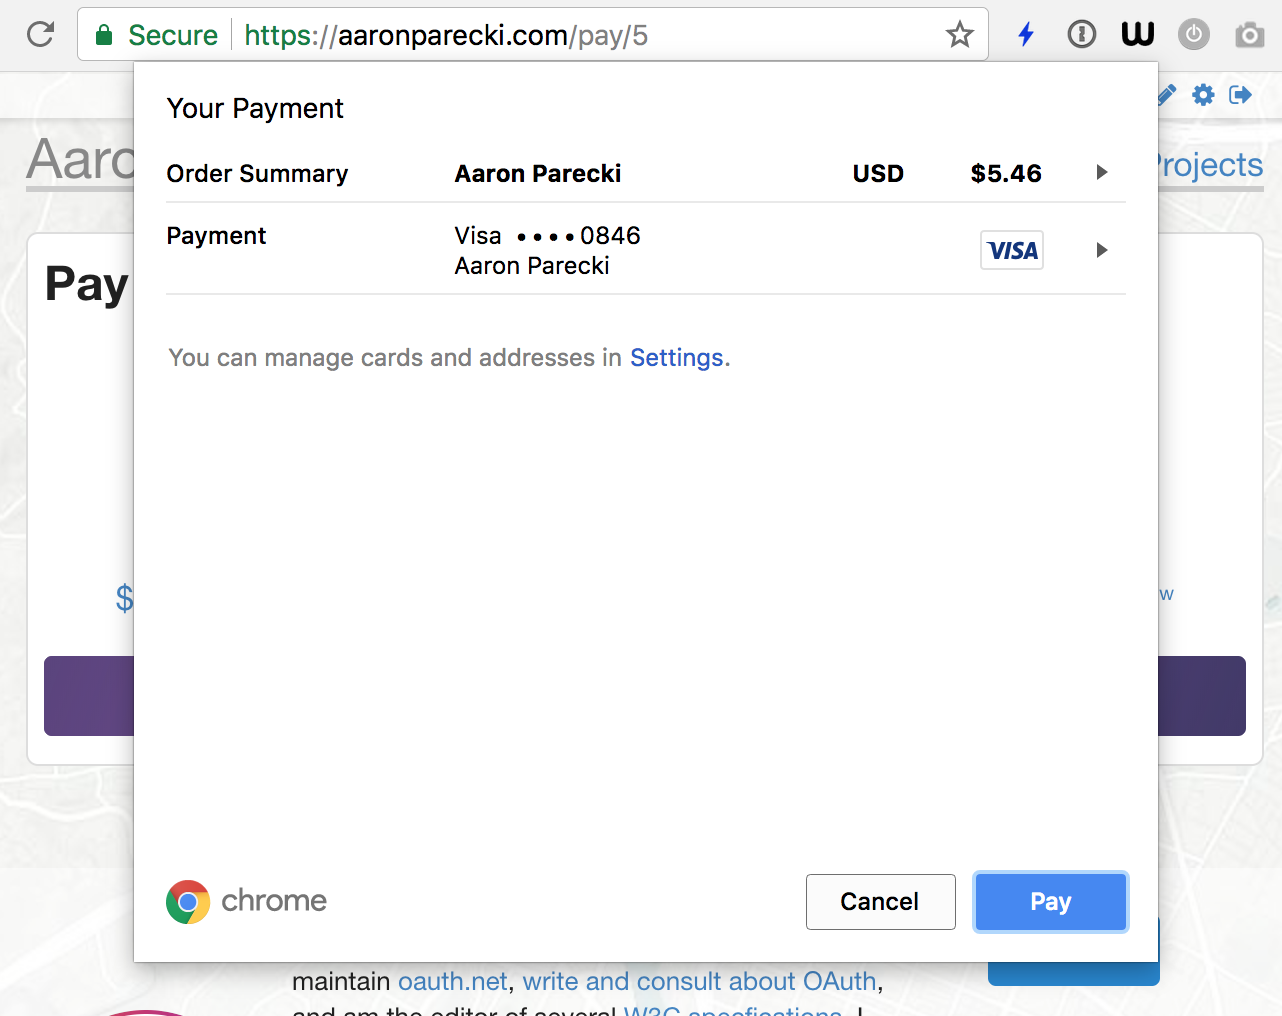
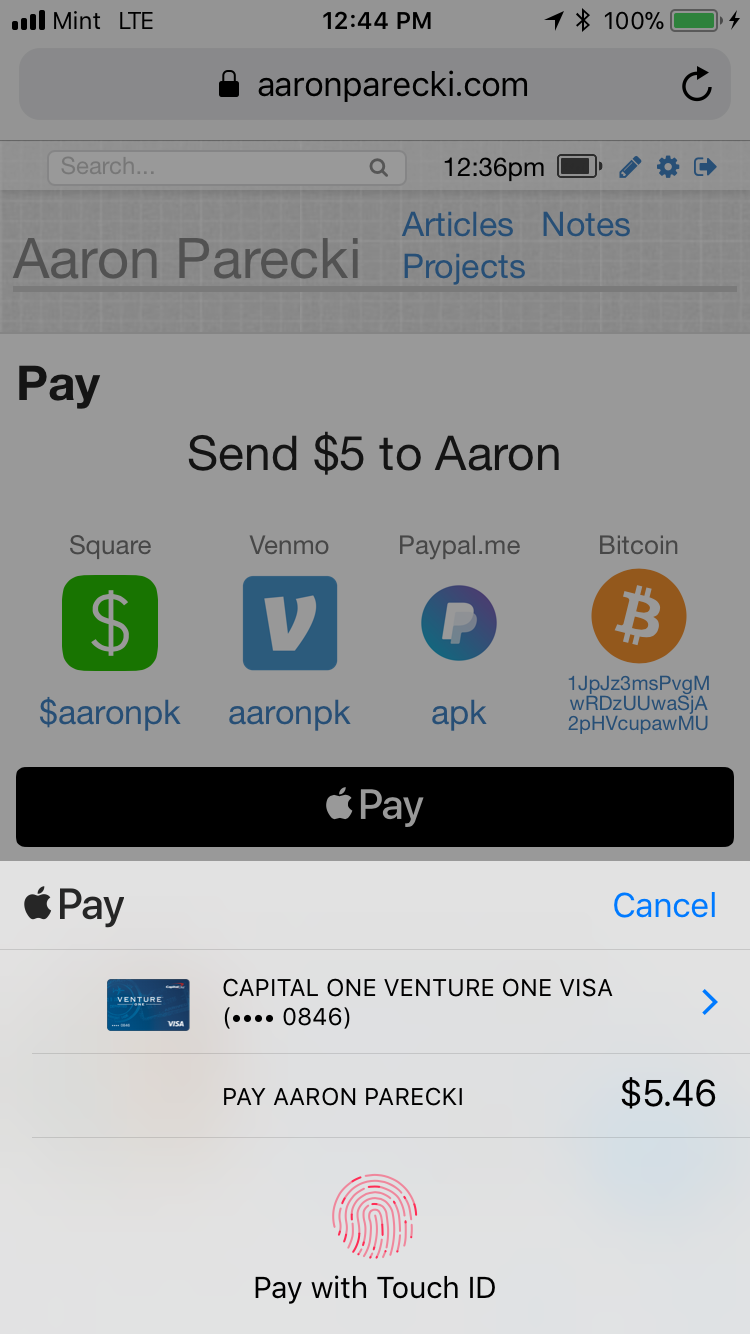
Clicking the "Pay now" button launches the browser's native Payment Request UI with the "order details" and allows the visitor to choose a credit card. (You might notice that the amount in the prompt is slightly more than $5, which is calculated by my code to result in me getting $5 after I pay the transaction fees. My assumption here is that you are trying to actually give me $5, not pay $5 for some service I provide.)
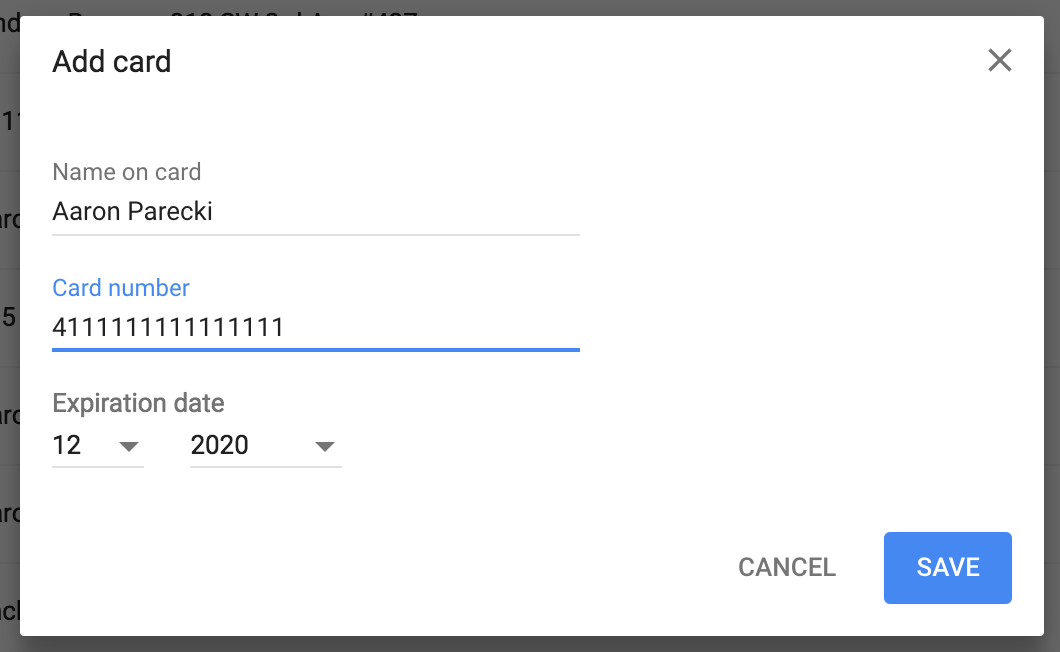
Unfortunately, Stripe doesn't provide a way to bootstrap this if you don't already have a credit card saved in the browser. They will hide the button completely if there are no payment methods available. In that case, I fall back to the old Checkout workflow. If you visit my pay page in Chrome to try to test this, and don't yet have a card added, you can add a card in the autofill settings in Chrome.
Next, we see what happens if you visit this page in a browser that does not support the Payment Request API (or if there are no saved cards). In this example I used Firefox, although you can actually enable the experimental API in about:config. In this case, my code detects that the API is not present, and enables the Stripe Checkout workflow instead.
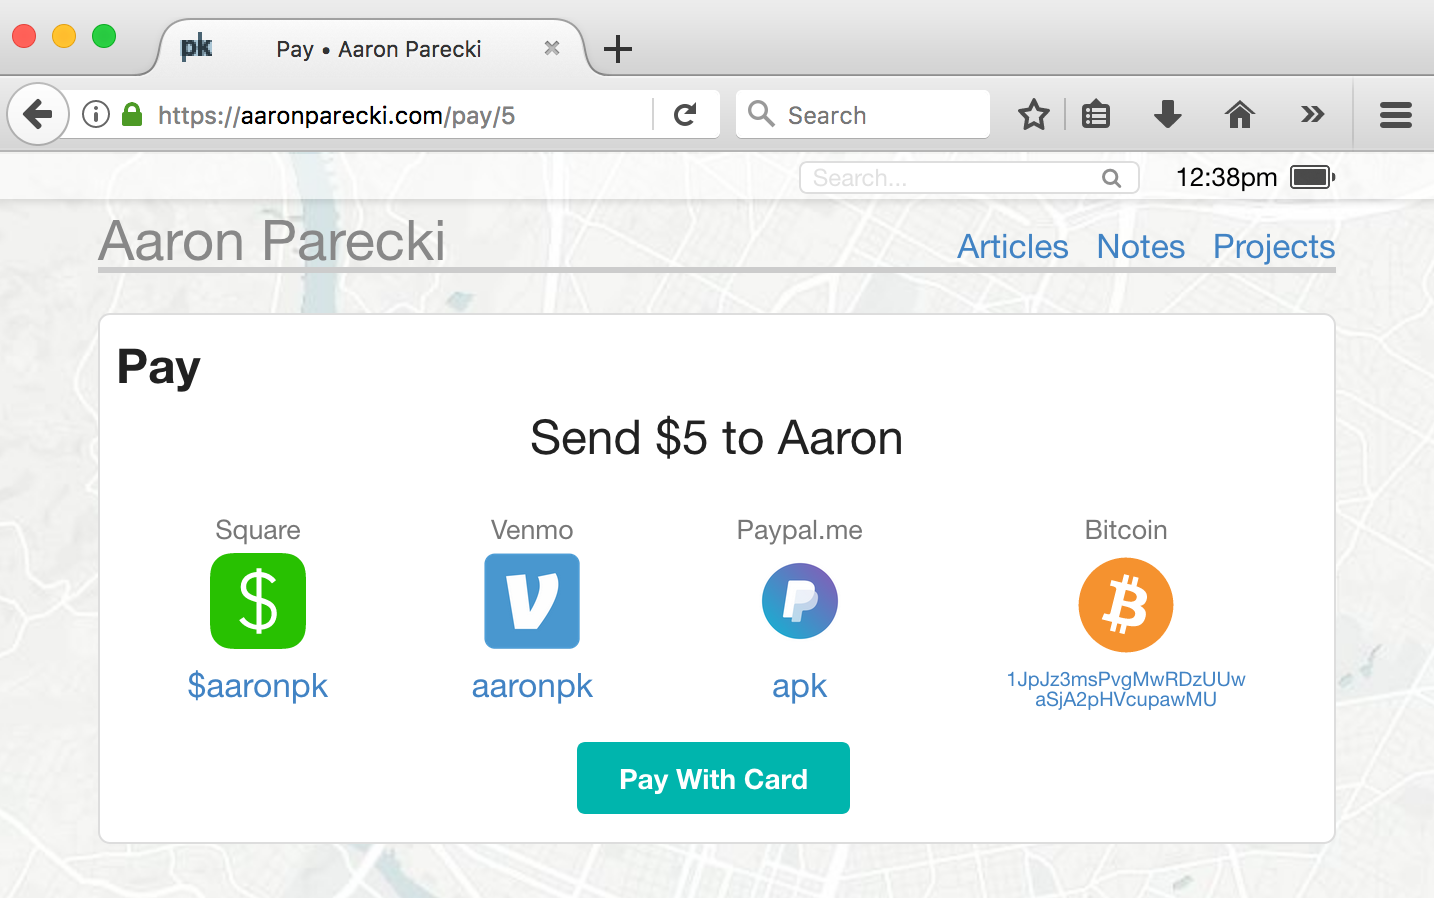
Clicking "Pay With Card" launches the Stripe UI for their Checkout workflow, which is a modal dialog. The only thing I can customize here is the title and photo.
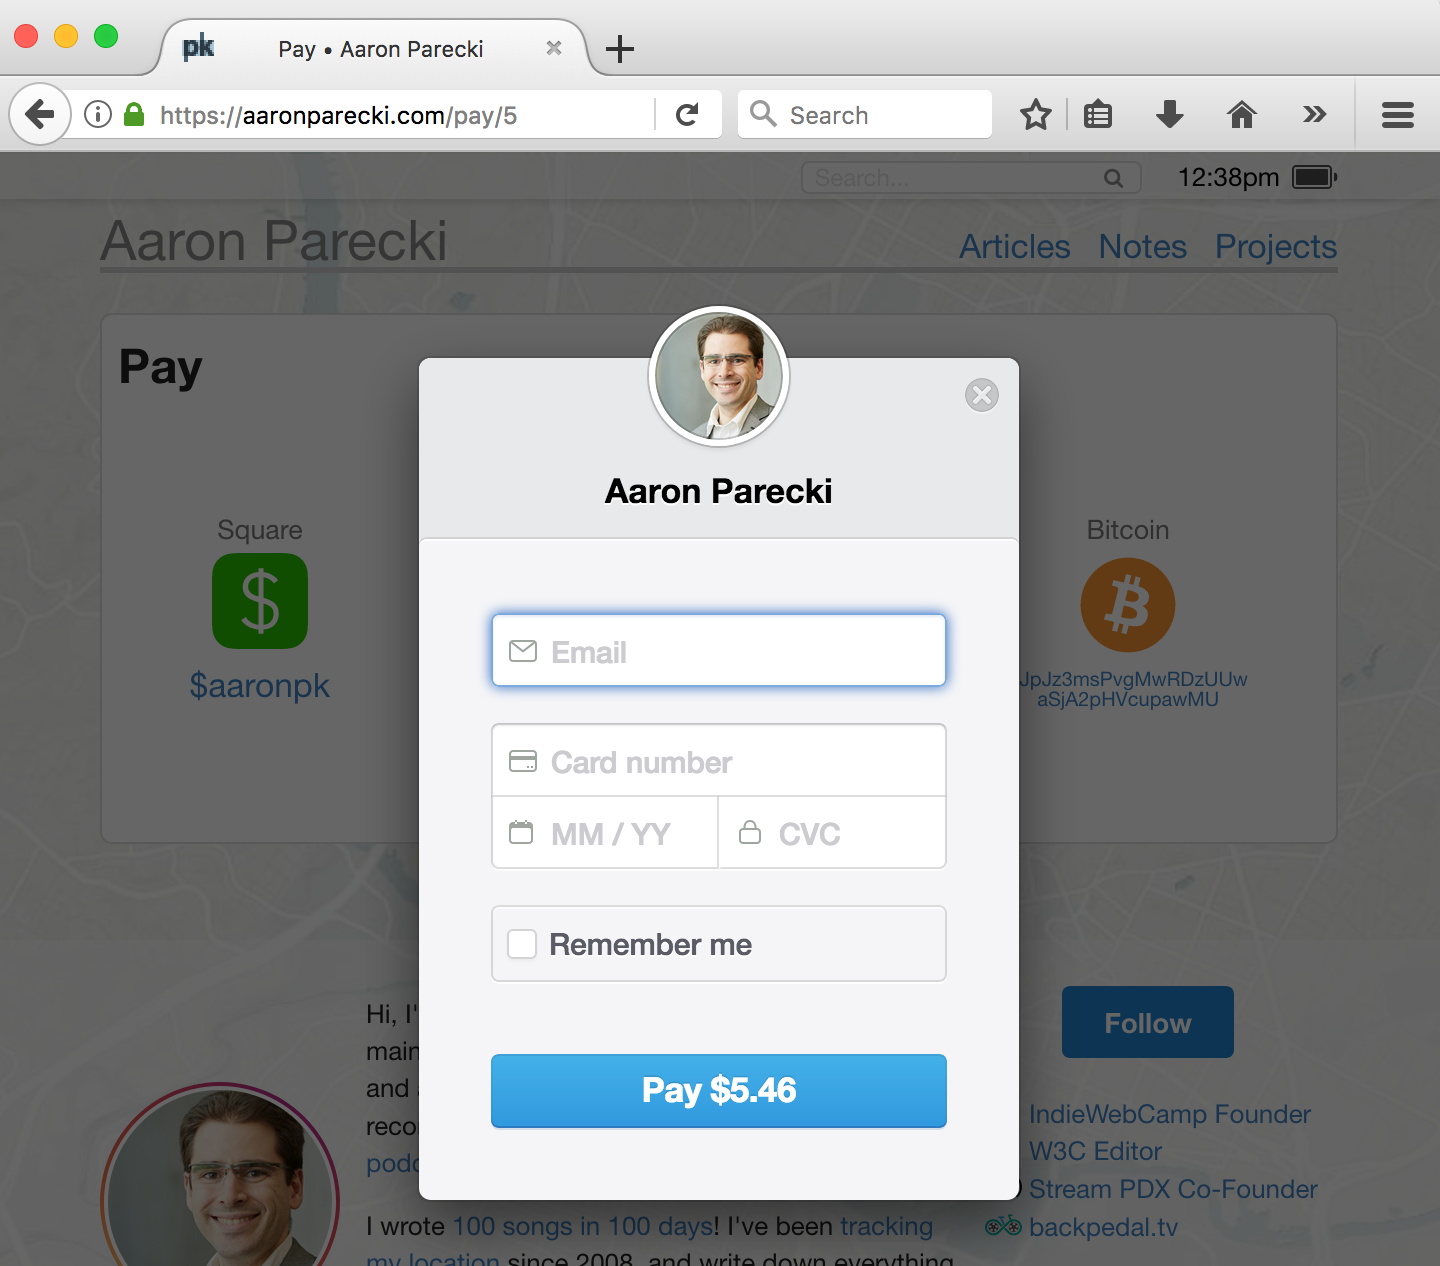
Stripe now encourages you to use their "Stripe Elements" which includes a credit card widget, although when I attempted to go down that path, I realized that I was going to have to do a lot more work on the CSS and JS interactions for that, whereas their Checkout workflow handles everything for me.
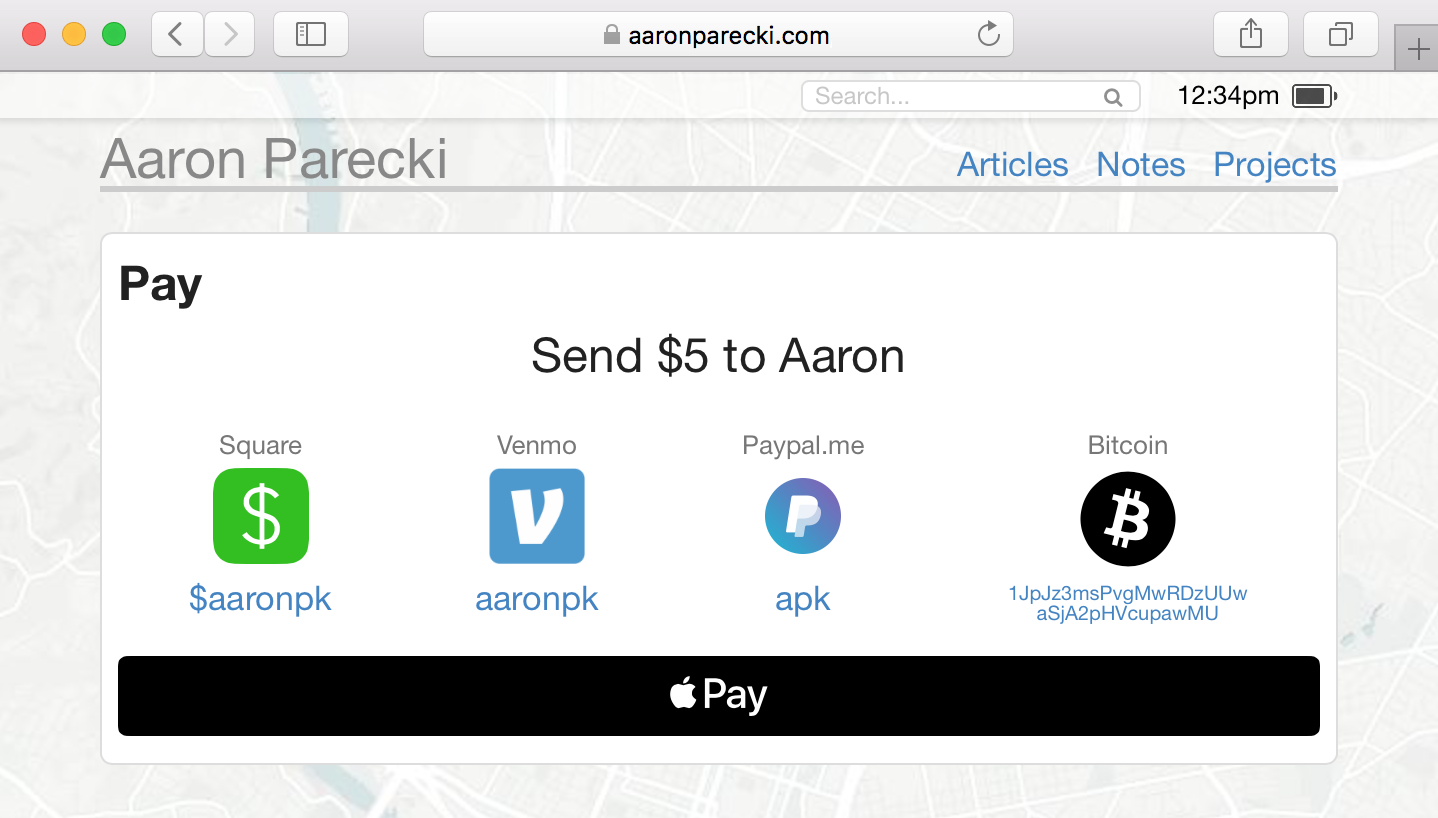
Here's the cool part about the Stripe Payment Request button. They have built-in support for feature-detecting Apple Pay and they turn the button into an Apple Pay button automatically! So in my code, I detect for either Payment Request API support or Apple Pay support and use the Stripe Payment Request flow in both cases.
if(window.PaymentRequest || window.ApplePaySession) { ... }It was surprisingly easy to enable Apple Pay support! The only thing I had to do beyond supporting the Payment Request API through their widget, was verify my domain. This is actually a requirement of Apple's systems, but Stripe has done an excellent job of smoothing over the hard parts of that. They provide a "domain association file" that you download to your server, and then they provide a button you can press that will trigger Apple to verify that file on your server. Once you do that, you can start accepting Apple Pay immediately, on both desktop Safari and iOS.
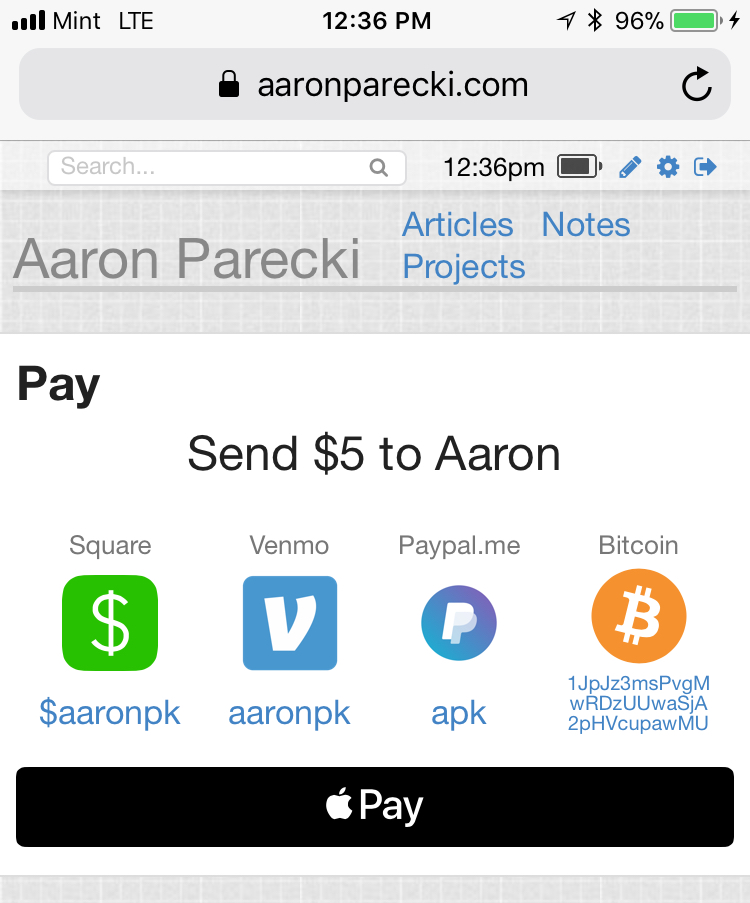
On iOS Safari, the Apple Pay workflow works just like you'd expect to see it in any app! Tapping the "Pay" button launches the native UI to choose a credit card and verify your fingerprint.
Once you confirm your fingerprint, it charges your card and you'll see the push notification confirmation almost immediately!
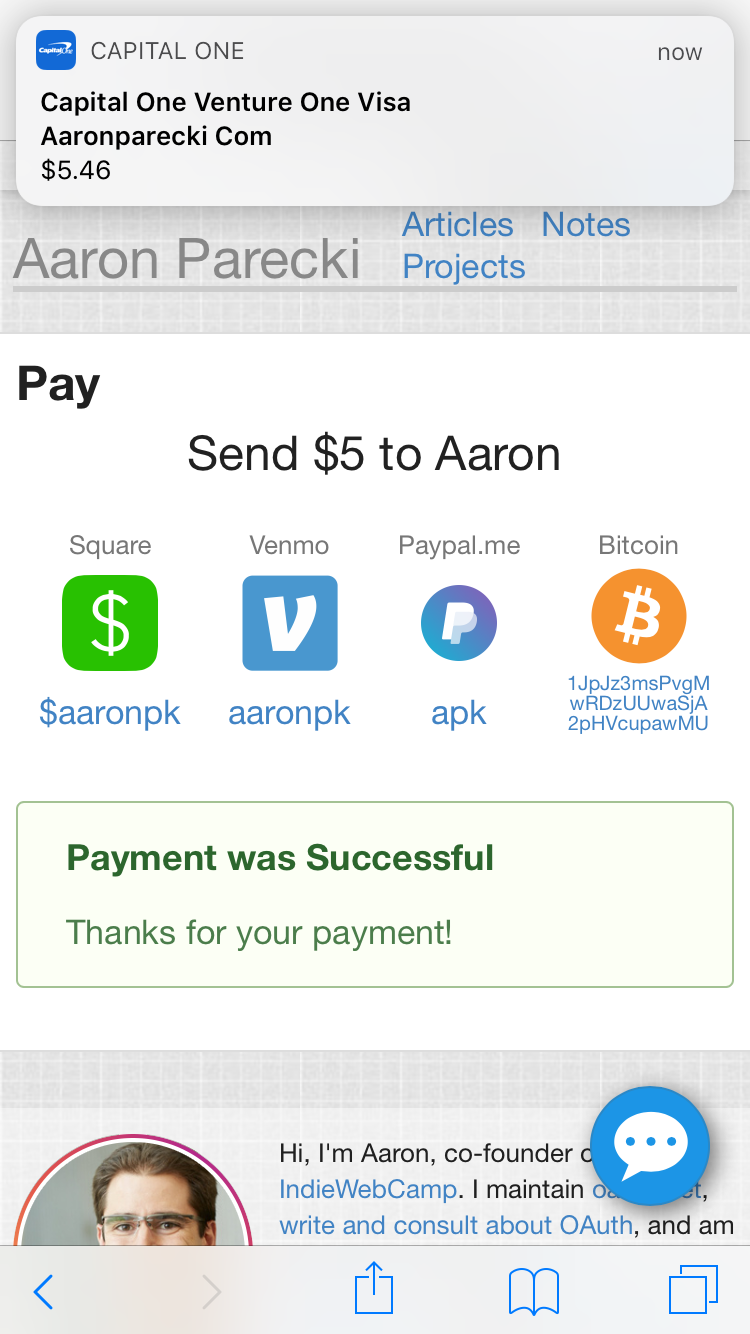
And yes, as I was taking a screenshot of this, it registered my thumbprint and actually charged my card. Good thing Stripe makes it easy to refund transactions!
So hopefully that gives you an idea of what it takes to add support for Apple Pay and credit cards to your site! It was surprisingly straightforward thanks to Stripe's library, although wouldn't have been too bad doing it manually with the Payment Request API either.
